


Our Newsletters Solution has received a glow-up. Newsletters now have a fresh and modern design, more intuitive workflow, modern layouts, advanced editing capabilities, extensive customization tools, and branding options that you can create and manage effortlessly.
This article will cover:
Take a look at our new mAcademy course walking you through the following instructions!
Prerequisites
Before sending a newsletter from your Meltwater account, you first need to verify your email address and be approved as a sender. Learn more about Adding an Approved Sender.
Preparing to Create and Send Newsletters
Before creating and sending a Newsletter, there are a few things you should consider:
-
Identify Your Audience's Needs: Consider your recipients and what they need to know. This could include industry news, PR highlights, social media mentions, and competitor coverage.
-
Set Up Your Search Terms: Set up your searches in Explore - these will be used to power your Newsletter.
-
Verify Your Email Domain: Meltwater sends the Newsletters so they look like they’re coming from your work email address. But in order to do so, you’ll have to fill out a quick form to set up “approved senders” and verify your email domain. Navigate to “account” and select “approved senders.” Here, you can add a new email to Meltwater. Learn more about verifying your email domain by reading here.
-
Organize with Tags: Create a Tag named “Newsletters” or use a tag name that is specific to the Newsletter you’re going to send regularly (i.e., Weekly Coverage Highlights, Daily Media Monitoring). Learn more about Utilizing Tags.
-
Have a Logo File Ready (3MB max size)
Understanding the Difference Between Manual and Automated Newsletters
Newsletter (Manual) - Select this option to create and manage your newsletters personally. This standard manual option gives you full control over content selection and distribution timing.
Note: You will need to manually send each newsletter, there is no automation available for this option
Automated Newsletter - Select this option for a newsletter that auto-generates and dispatches according to your predefined schedule. This article will walk you through the benefits of automation. You'll need to specify:
-
Day of the week for sending
-
Time and time zone
-
Additional time intervals (optional
Note: If you have created an Automated Newsletter but find you need more control over the content added to it, you have the option to convert it to a Manual Newsletter. This allows you to either curate the content yourself from scratch or use the "auto draft" feature to generate a preliminary draft that you can then edit to meet your specific needs. Learn more about Using a Template Design for Multiple Newsletters below.
Accessing the Newsletter Template
-
Select Newsletters from the left-hand navigation bar
-
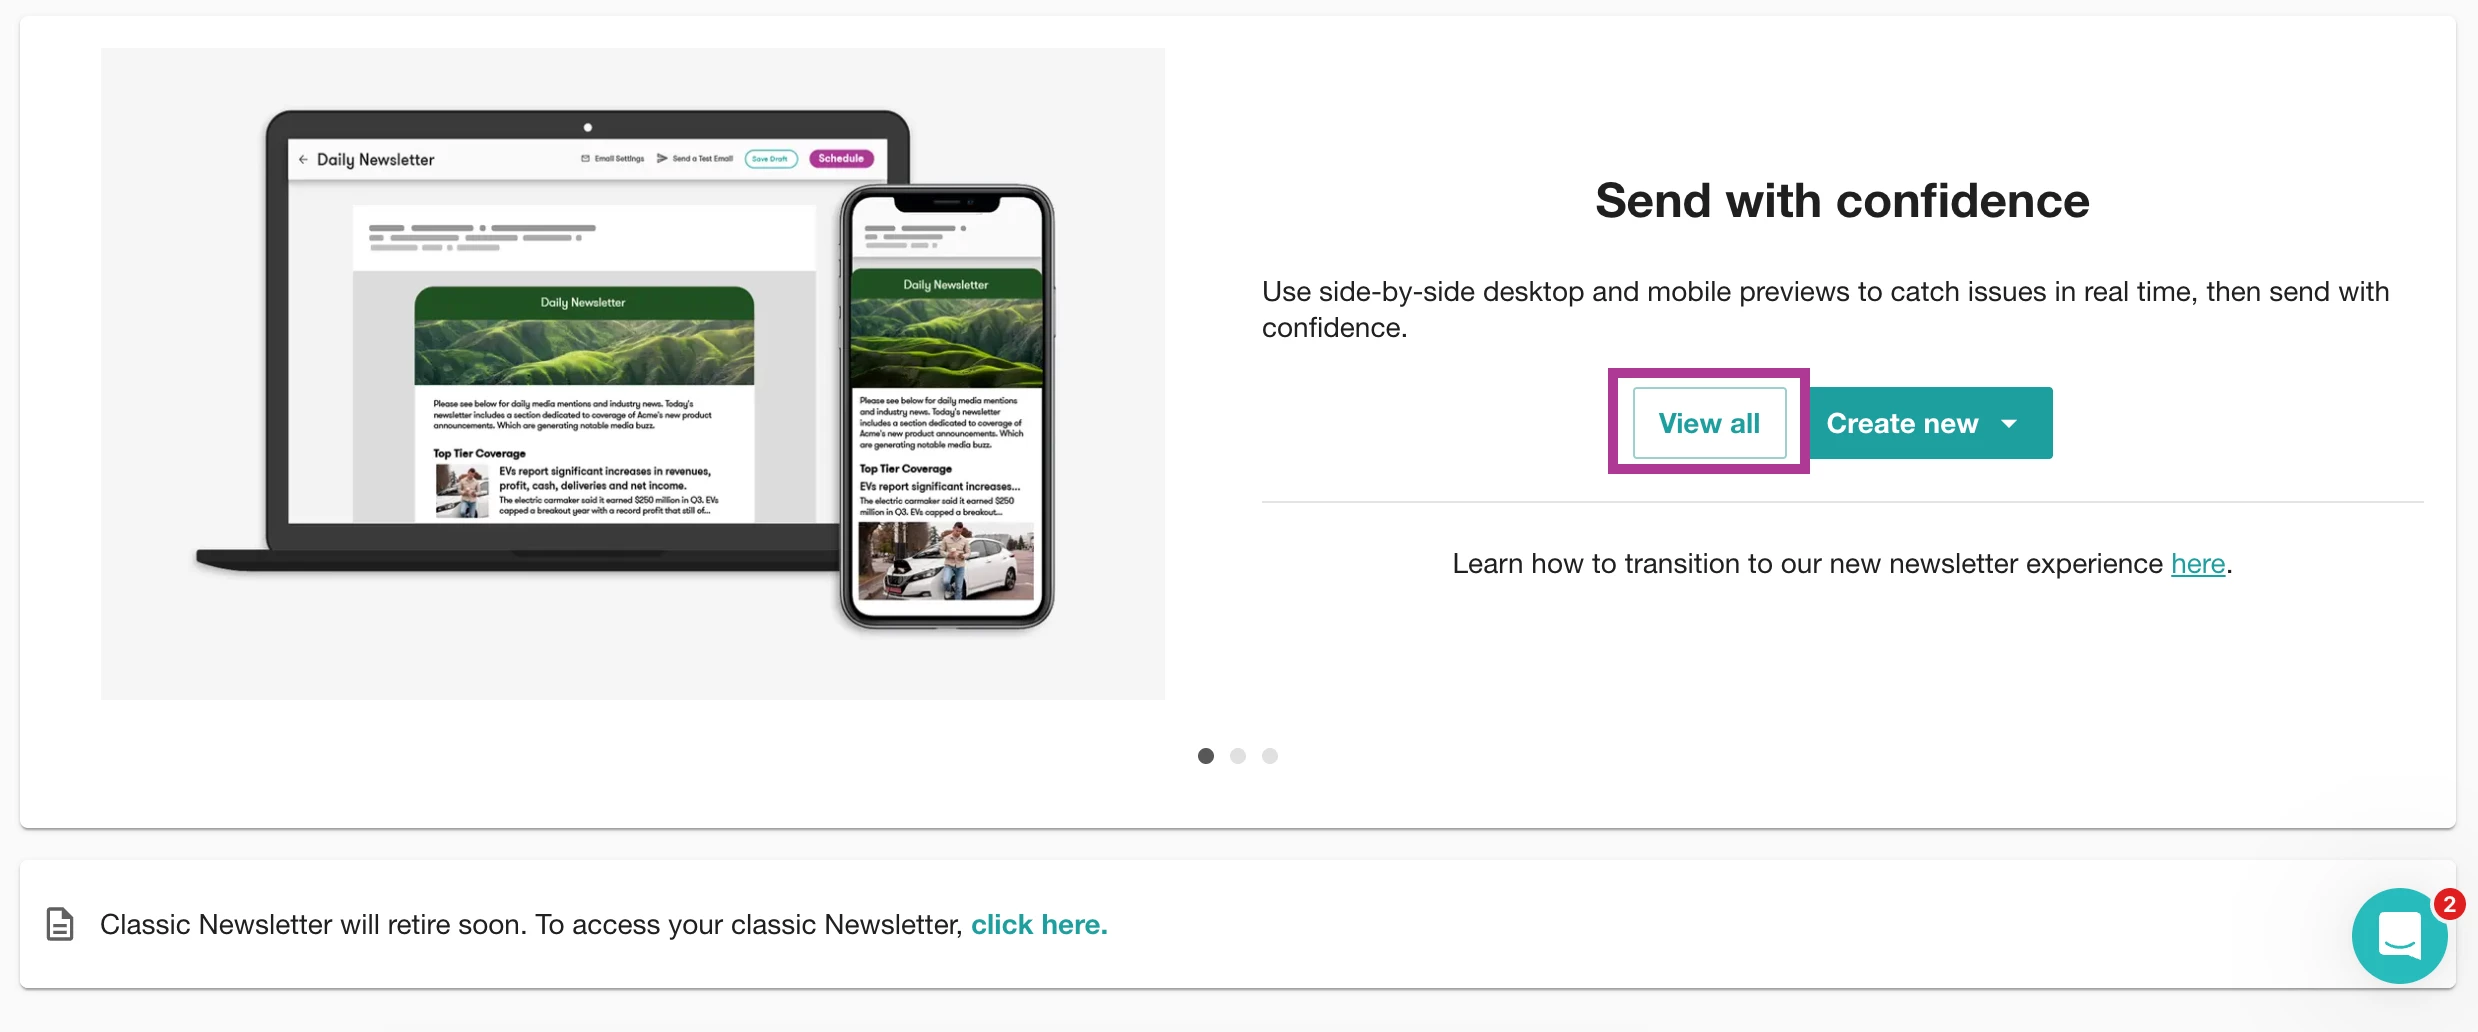
In the Newsletters Box, click on the Create New in the drop-down to select between Automatic or Manual

-
To access all previously created or send Newsletters, select the View All
Creating a Manual Newsletter
Creating and Customizing Your Newsletter Template
Selecting and Curating Content
Configuring Email Settings and Selecting a Recipient List
Creating Manual Newsletter Distributions
Editing and Updating Your Newsletters
Streamlining with Automated Newsletters
-
Click Newsletters in the left-hand navigation bar
-
Select the Create New drop-down
-
Select Automated Newsletter
-
Select a template
-
Click Use this template
-
Select the checkboxes to the left of Explore Searches or Tags you want to add to each of the corresponding sections found on the left-hand side of the pop up
Note: These choices aren’t permanent. You can reorder or refine them later.
- Click OK
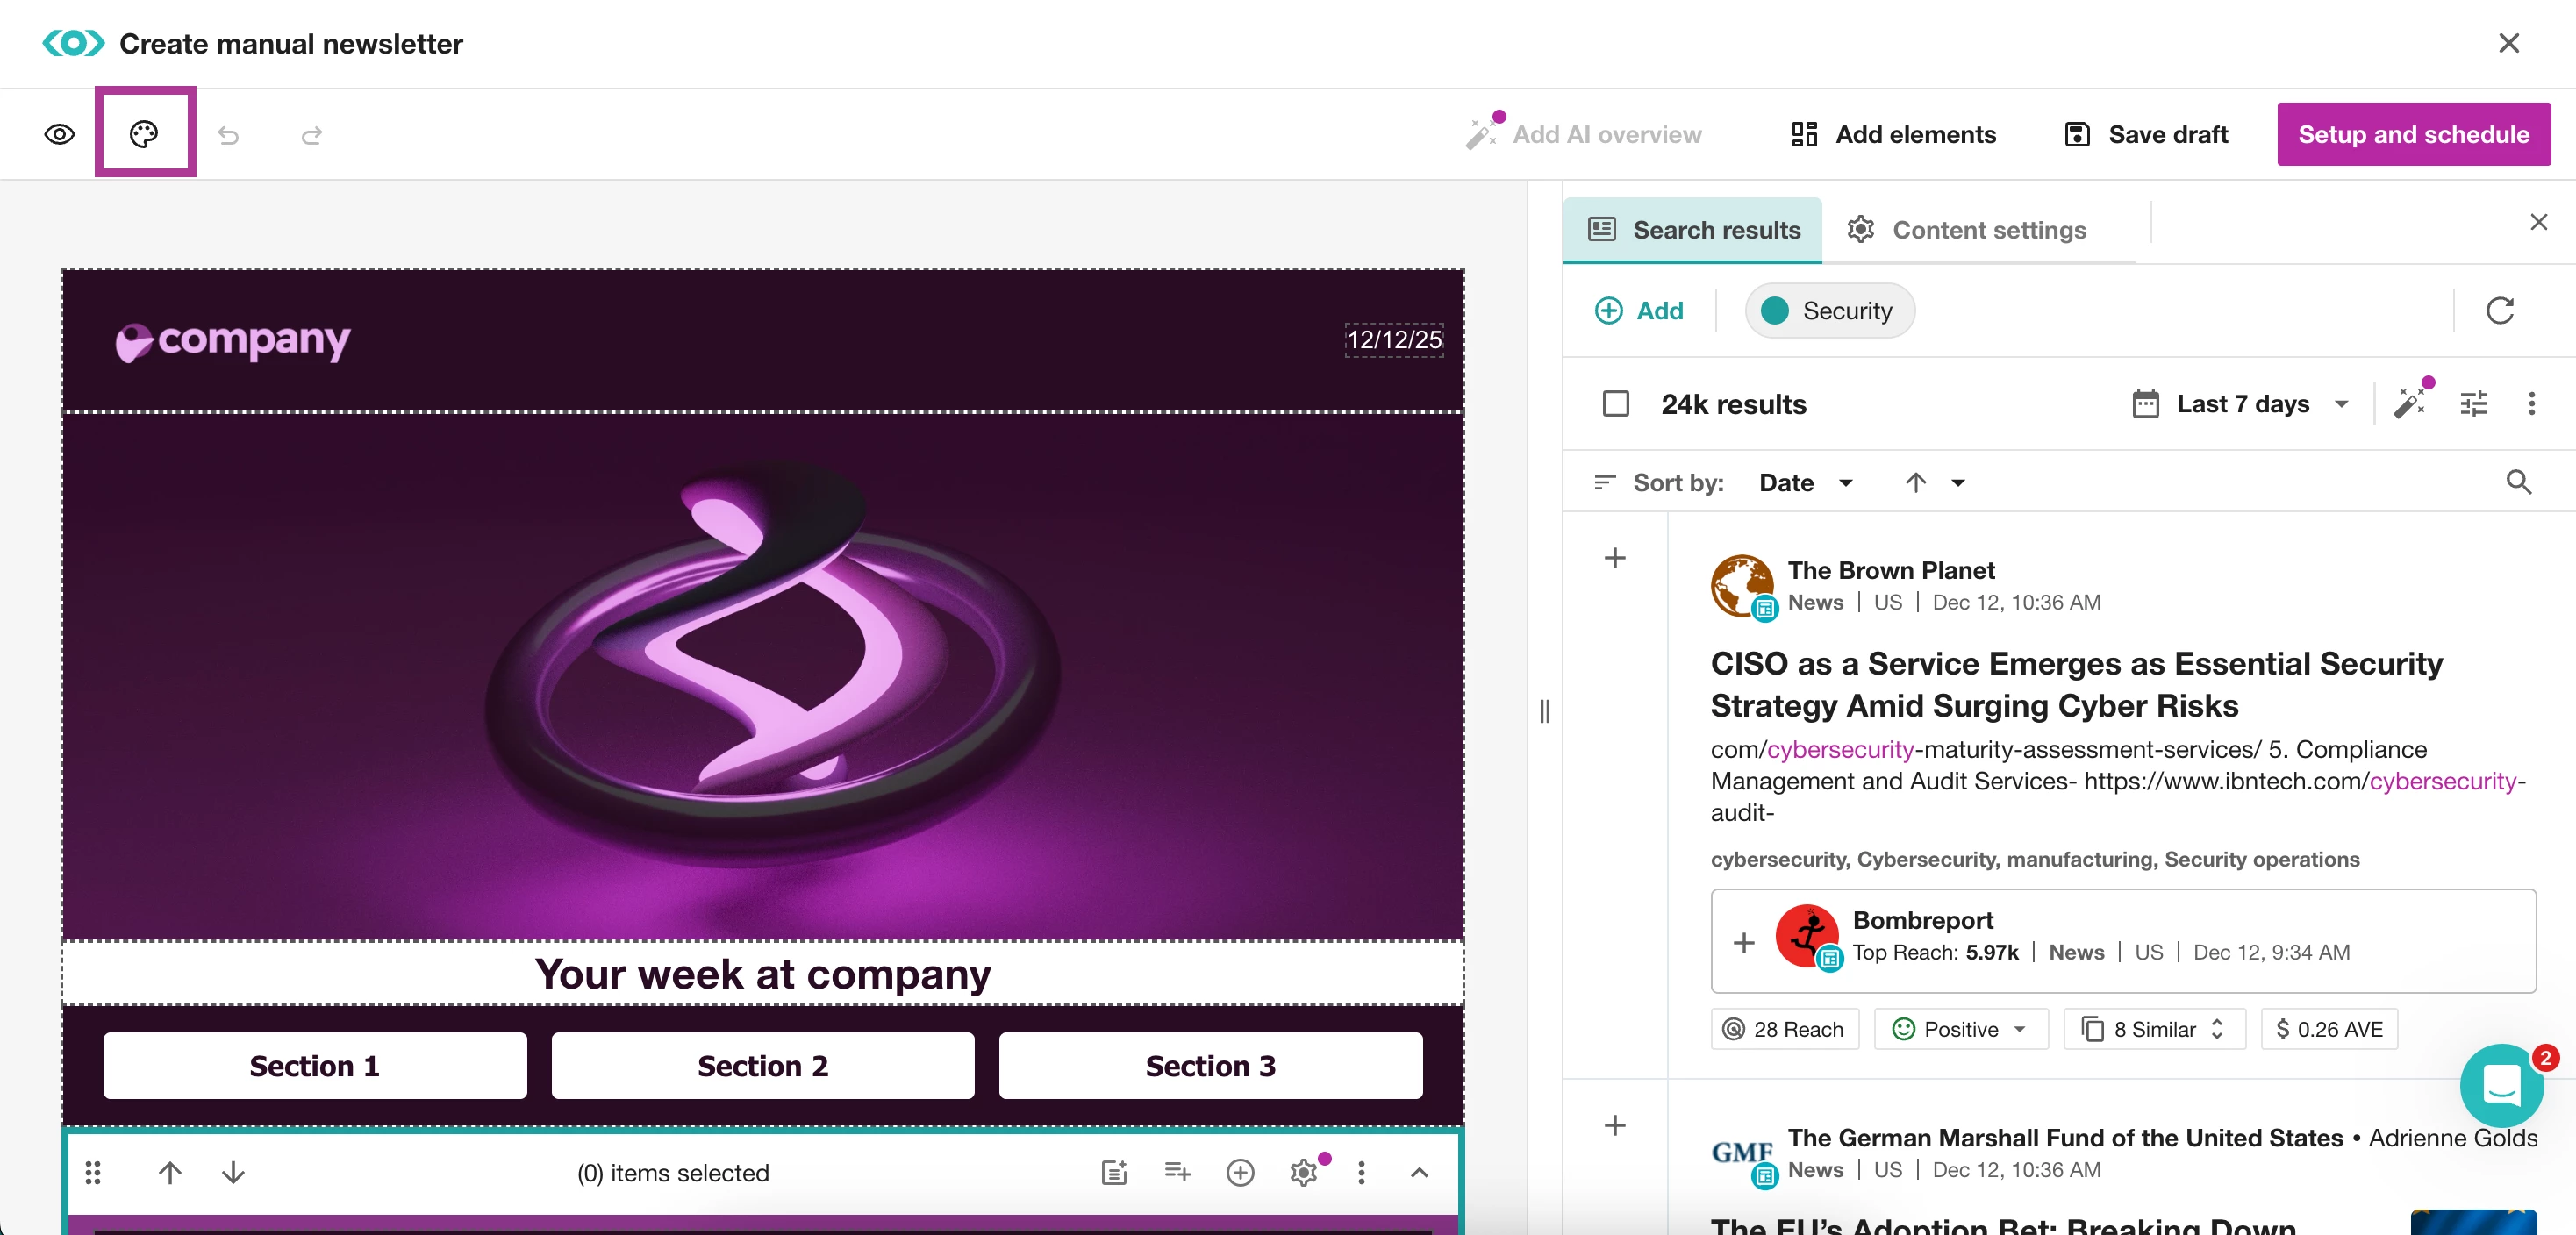
- Select Global Style in the top left-hand corner to adjust styles such as
- Font
- Colors
- Page Background
- Body Background
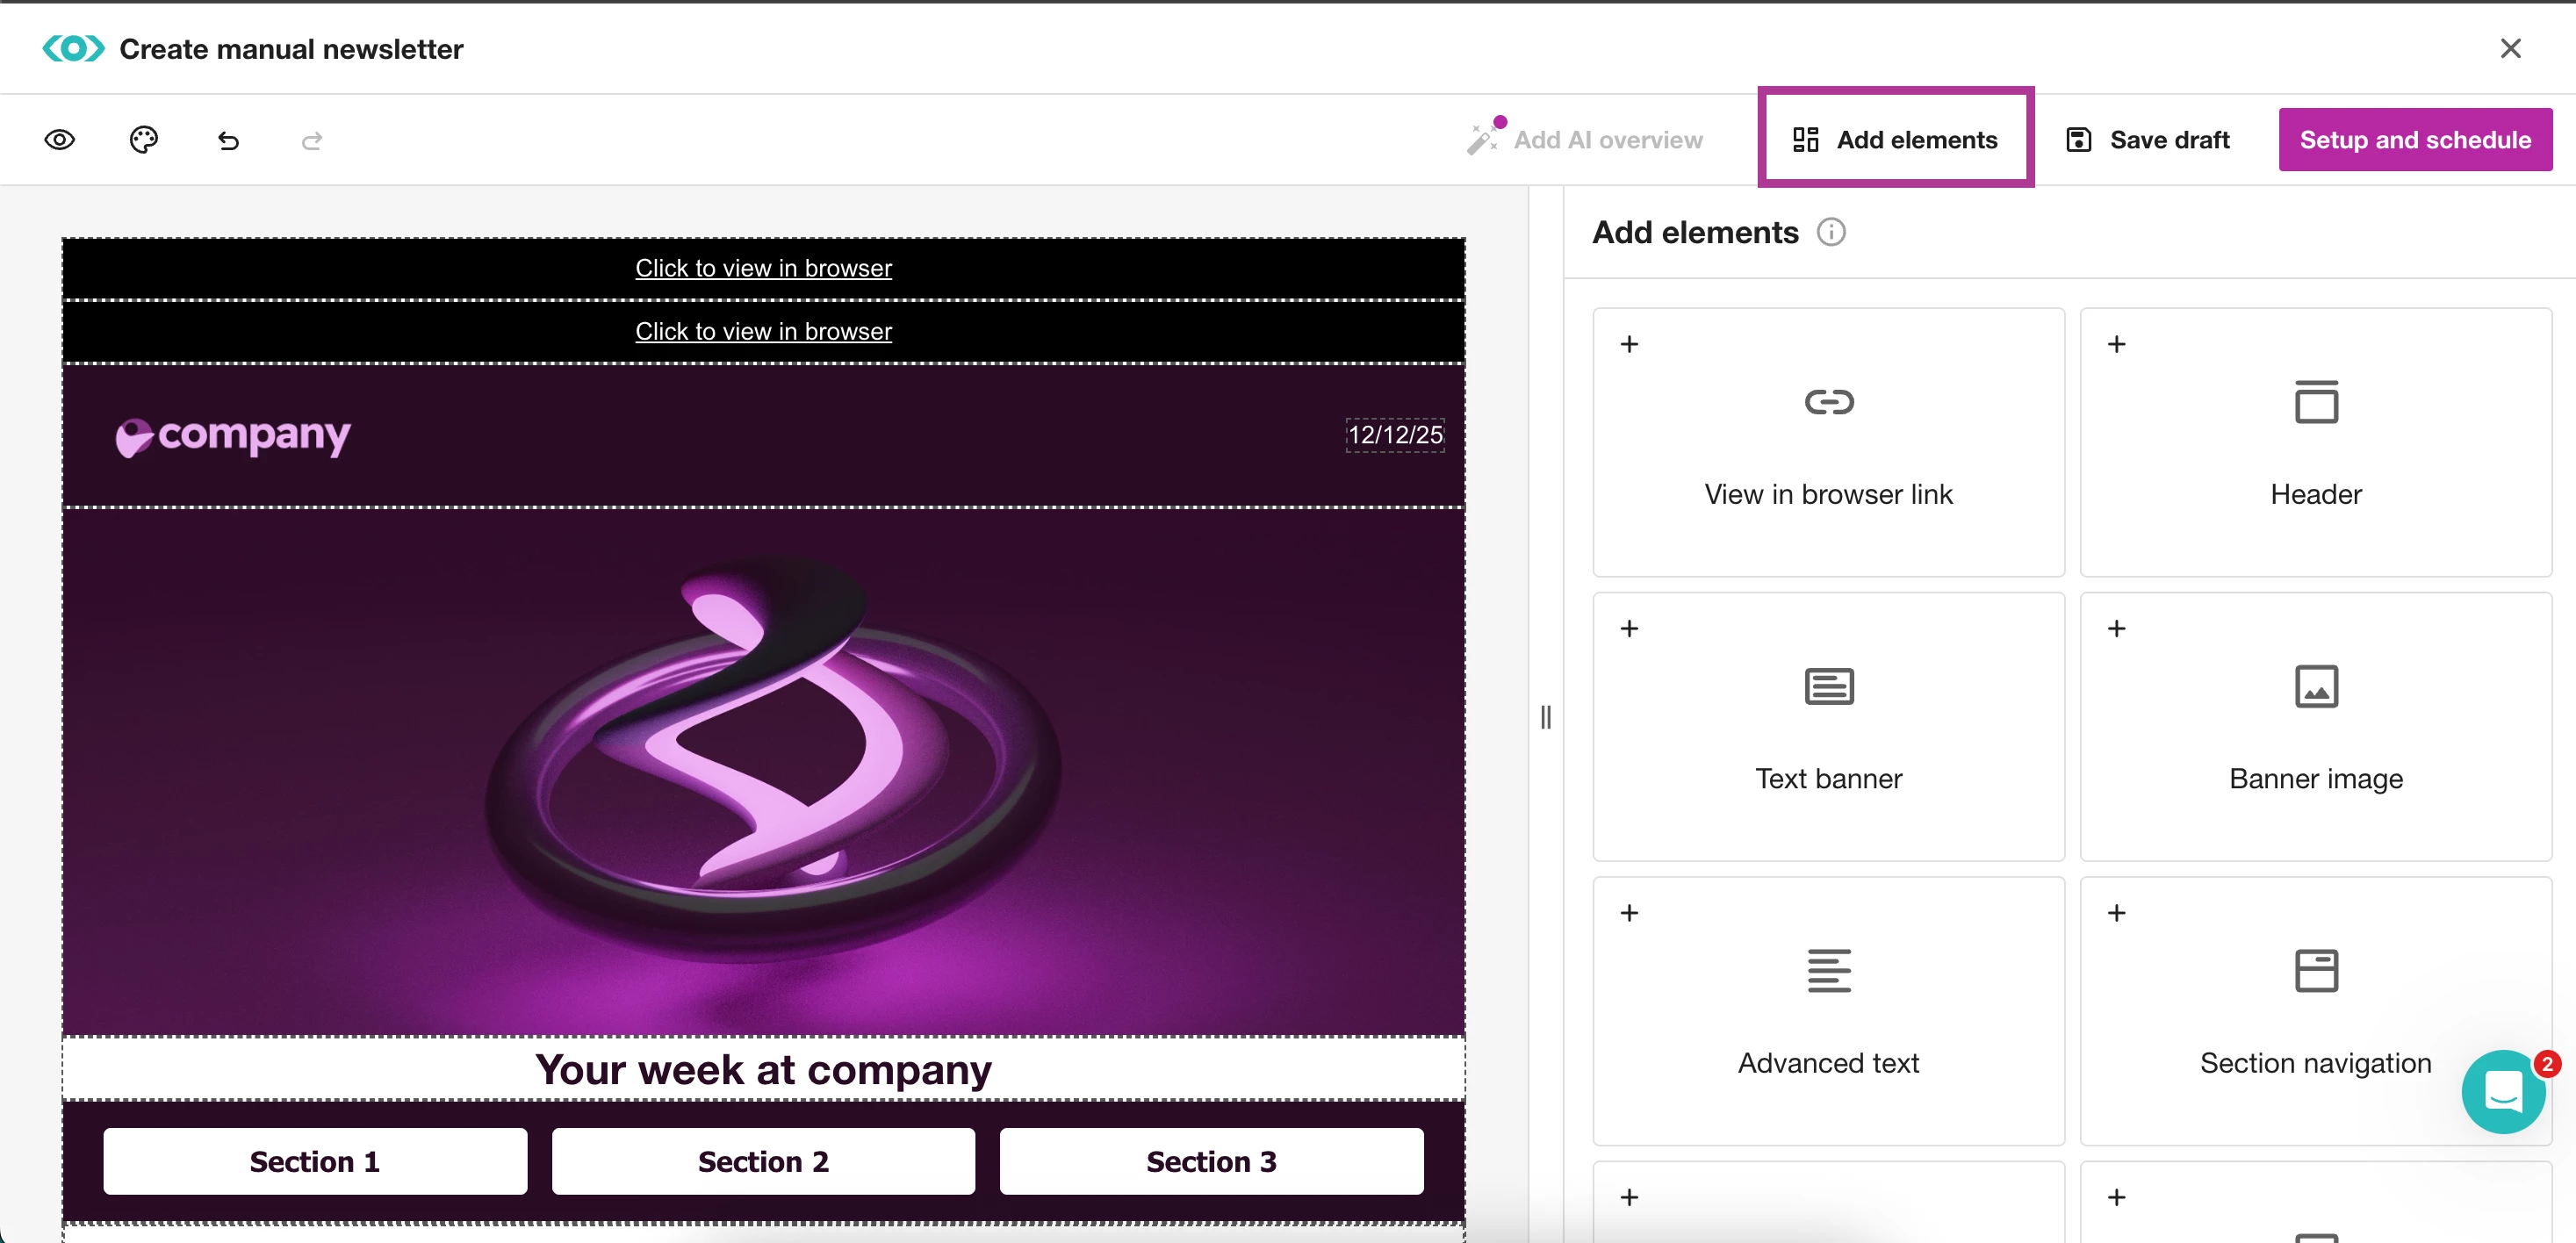
- Select Add Elements to add any of the following
- View in Browser Link: Adds text link to view in browser - ideal for long newsletters
- Header: Includes optional logo, date, and primary text
- Text Banner: A large centered textbox and optional subtitle
- Banner Image: A large banner filled with an image
- Advanced text: A compact textbox that supports hyperlinks, often used for summaries
- Section Navigation: Buttons that link directly to each section
- Simple Text: A small textbox for a sign off or slogan
- Section: A section to organize your content in
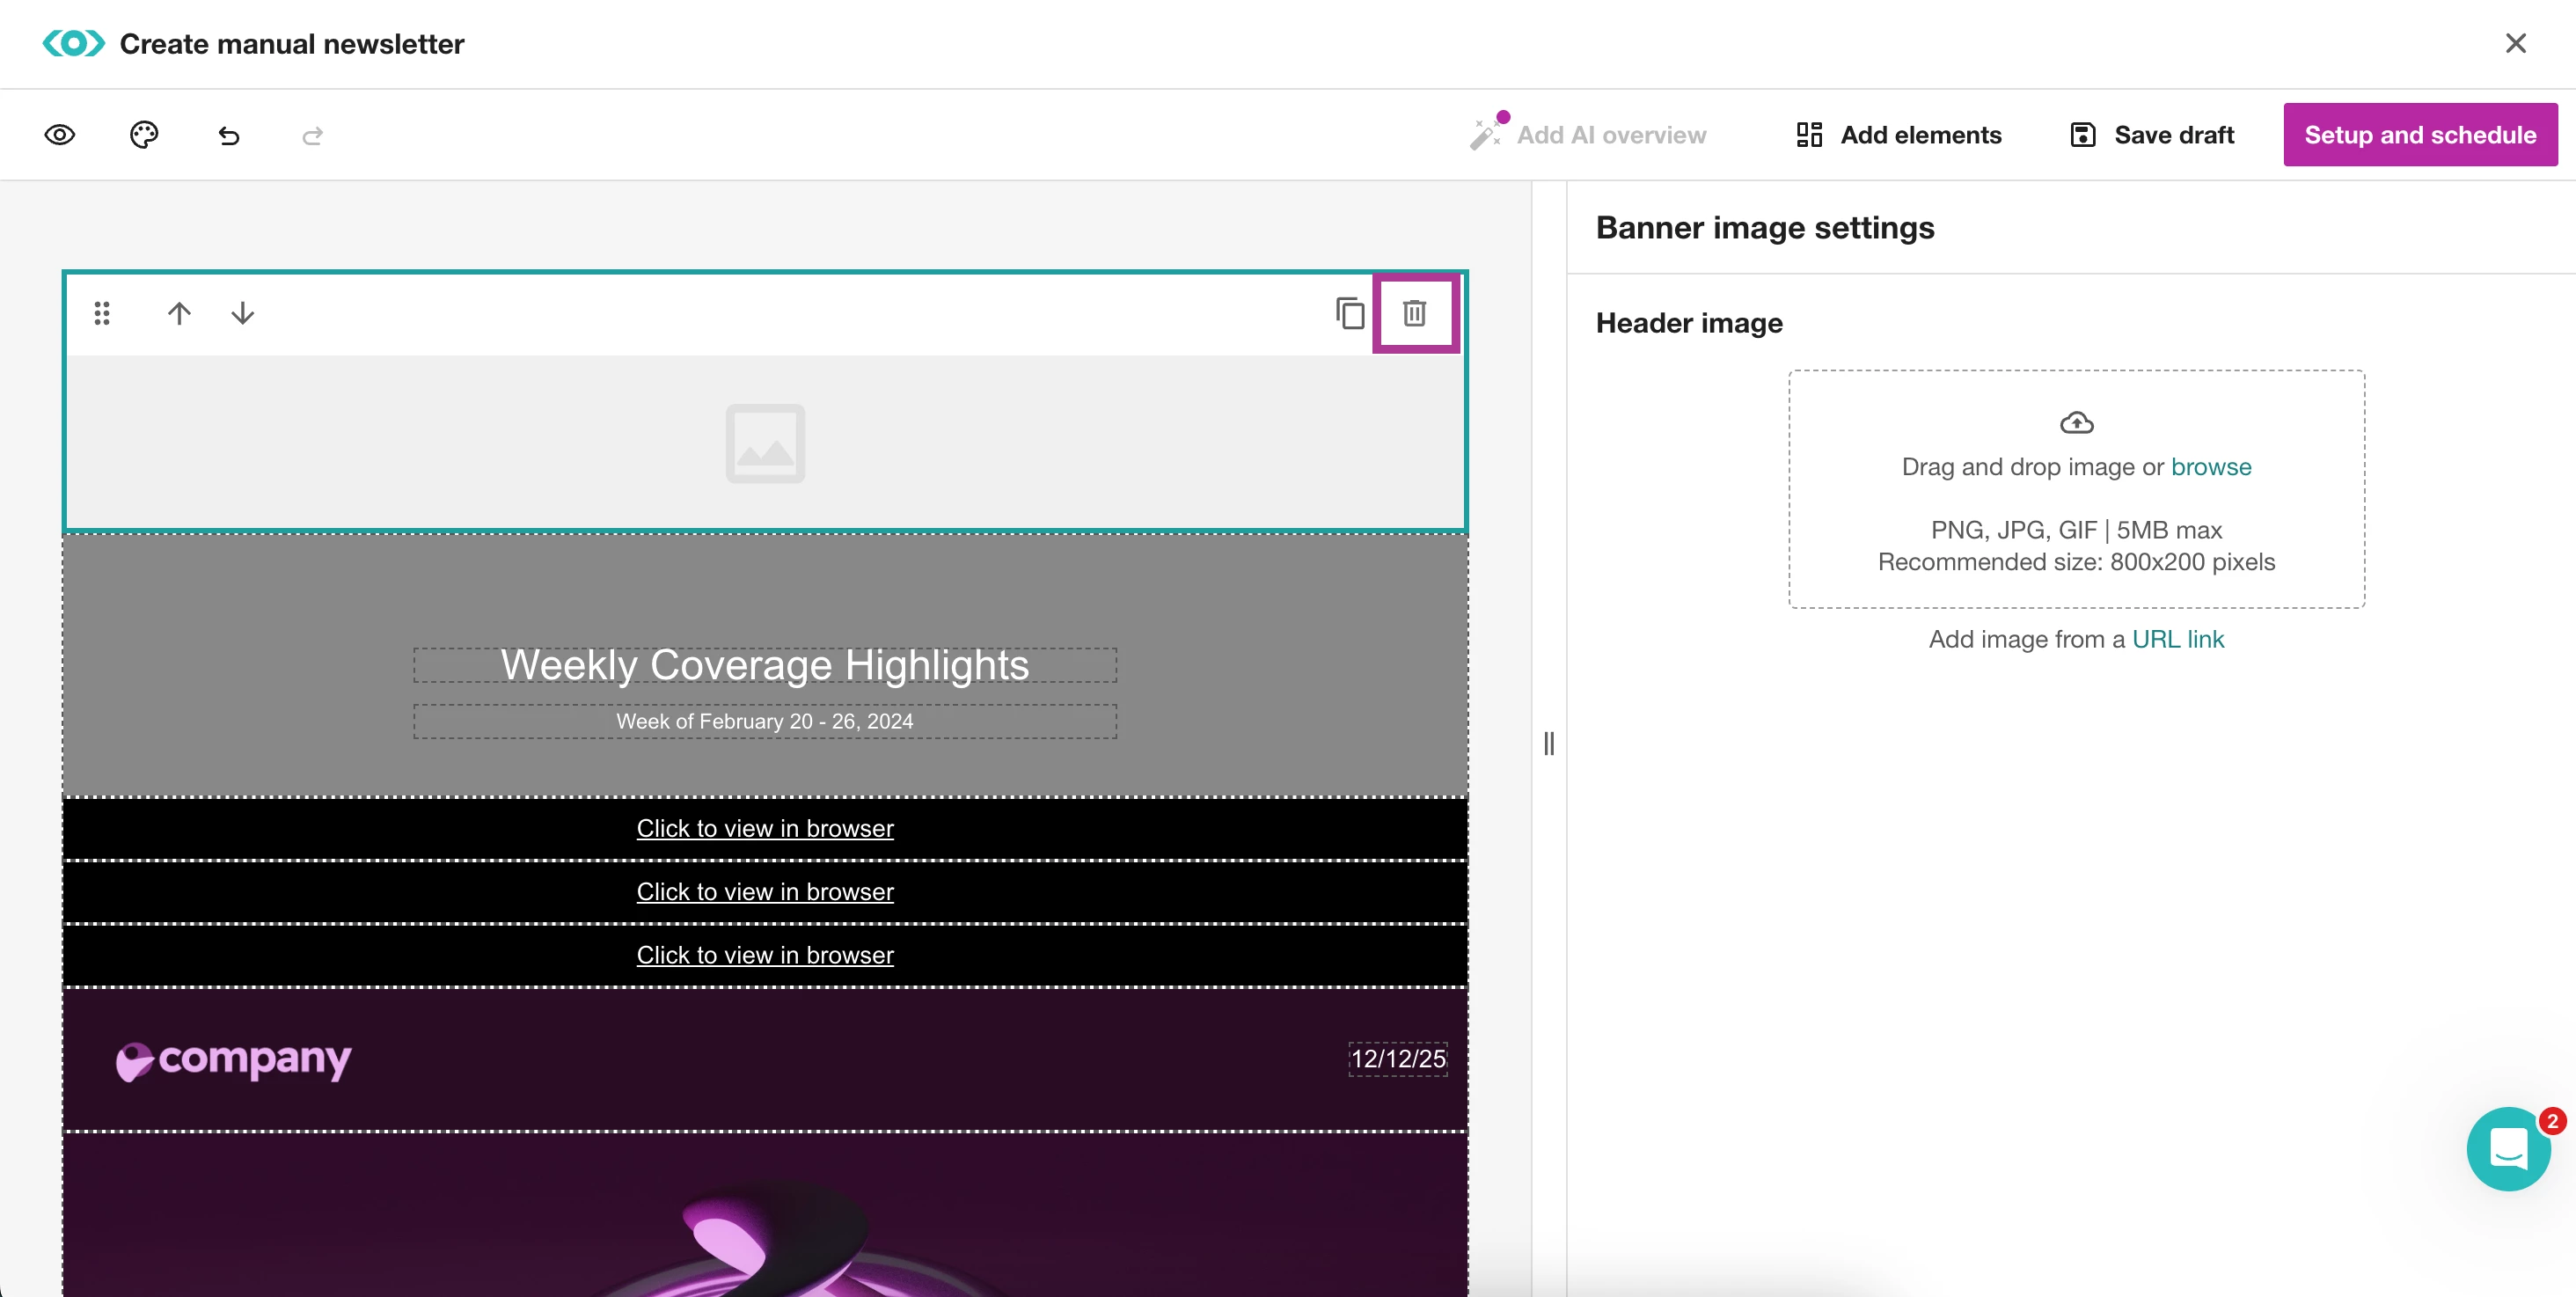
- To remove an added element
- Click on the element
- Select Delete
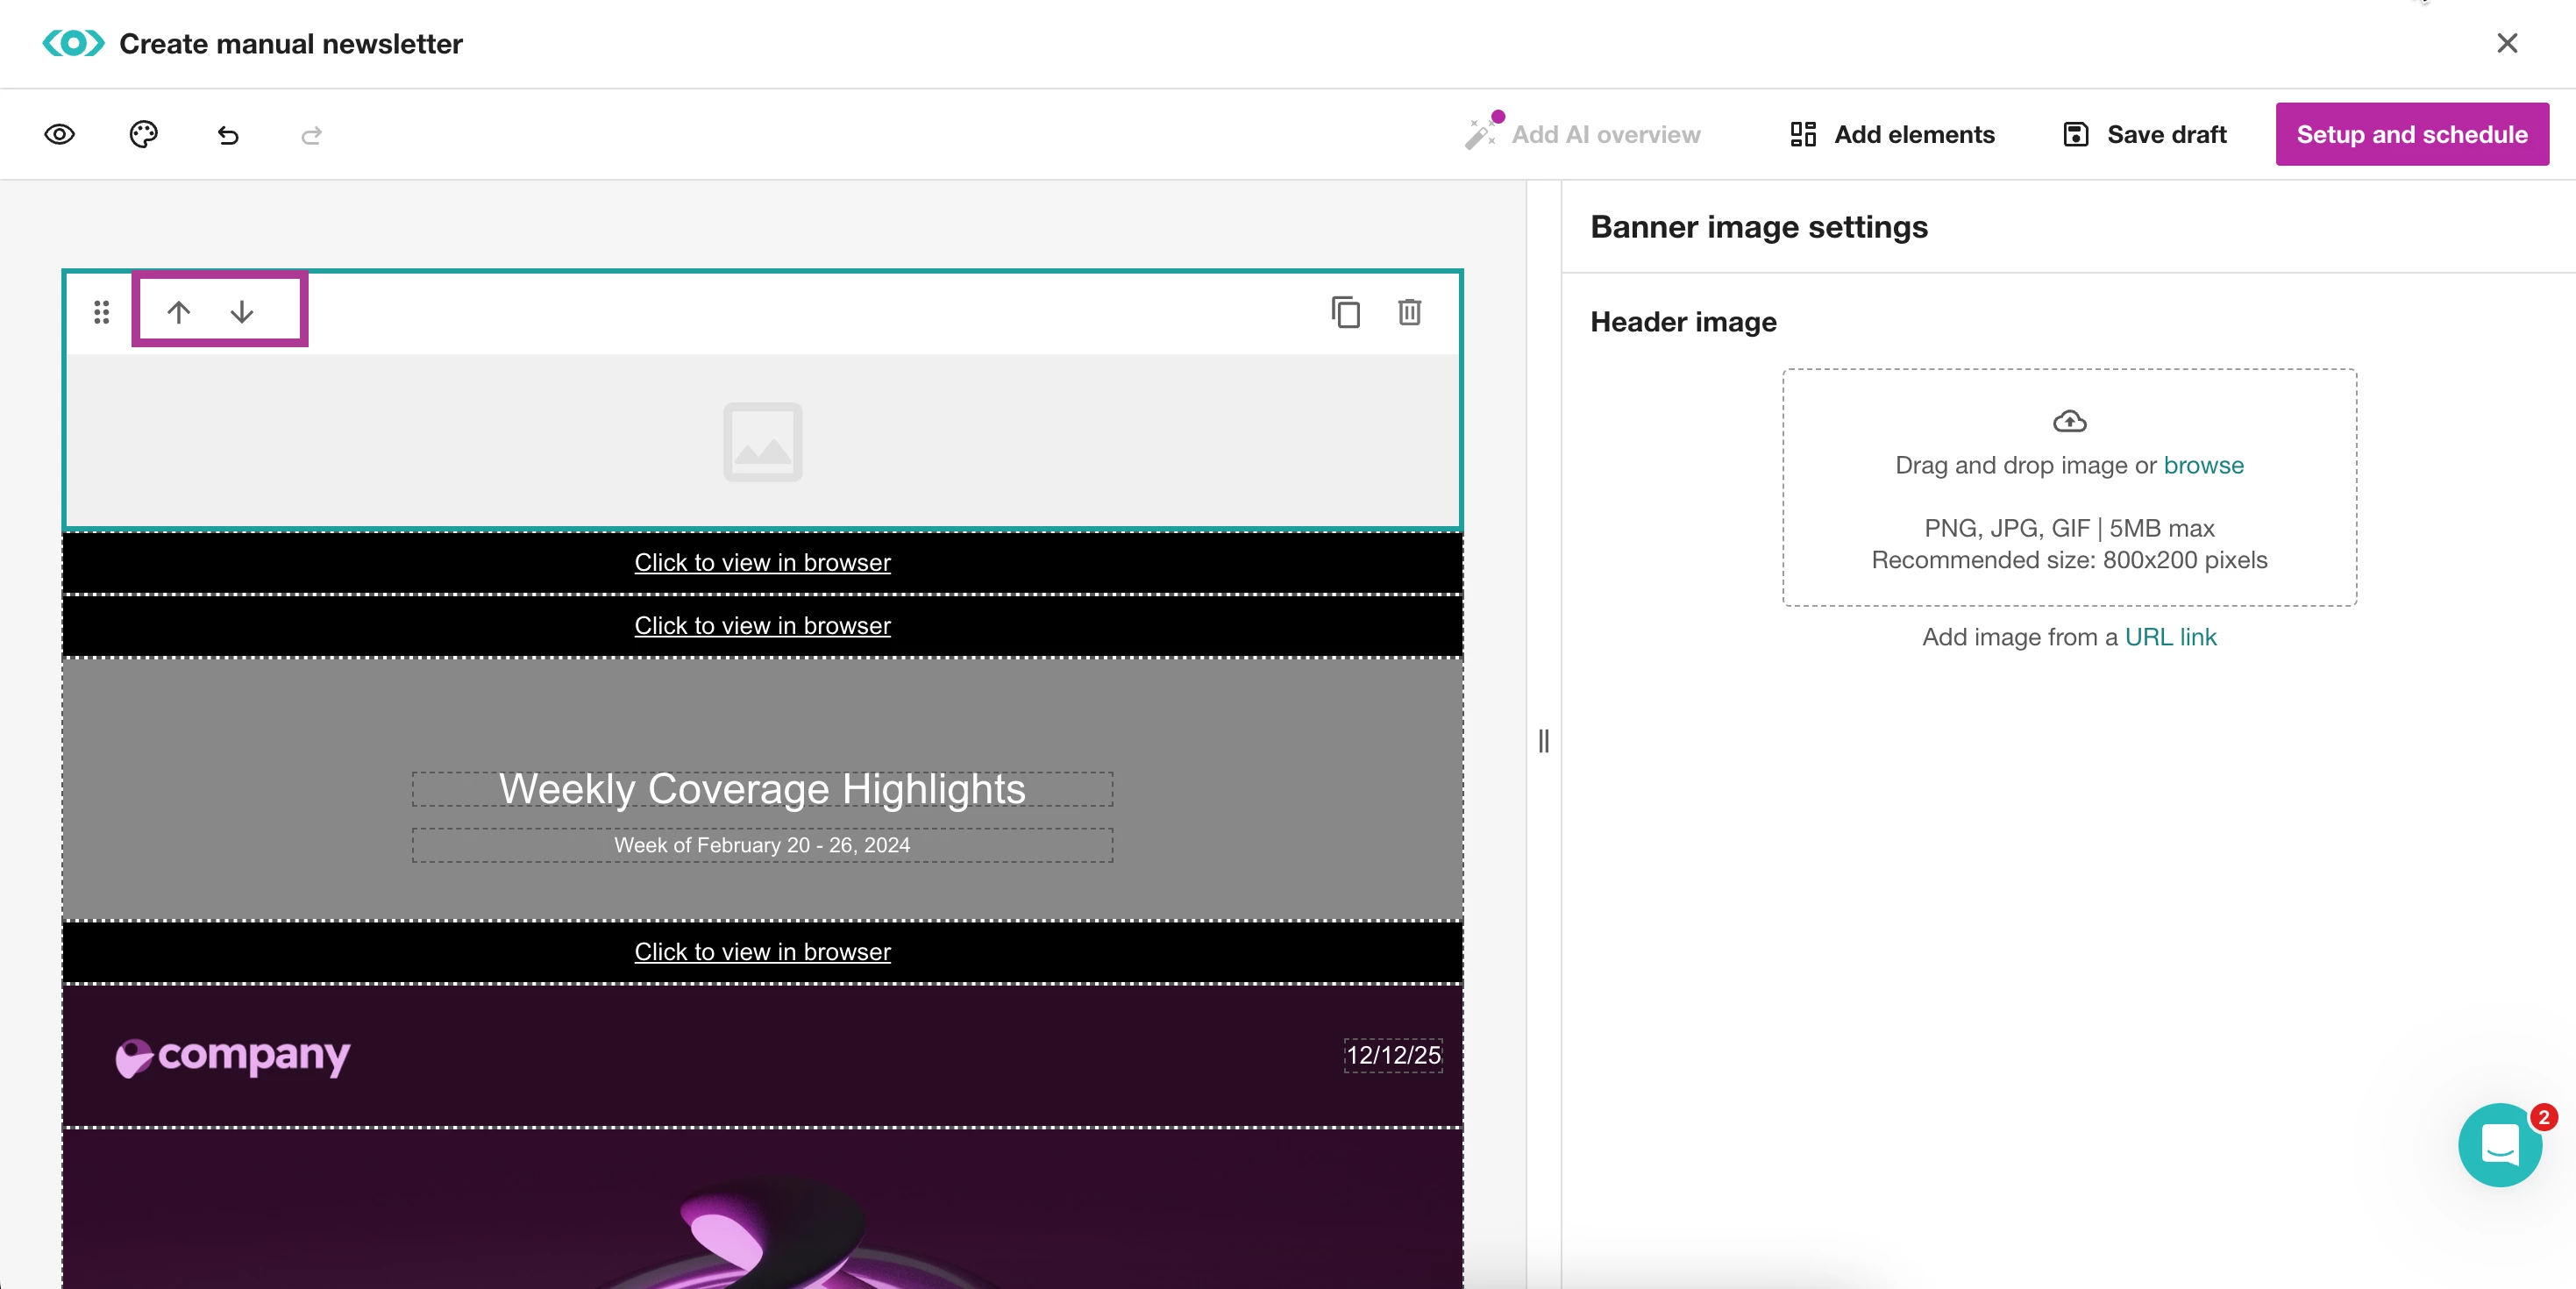
- To reorder elements, select the up and down arrows
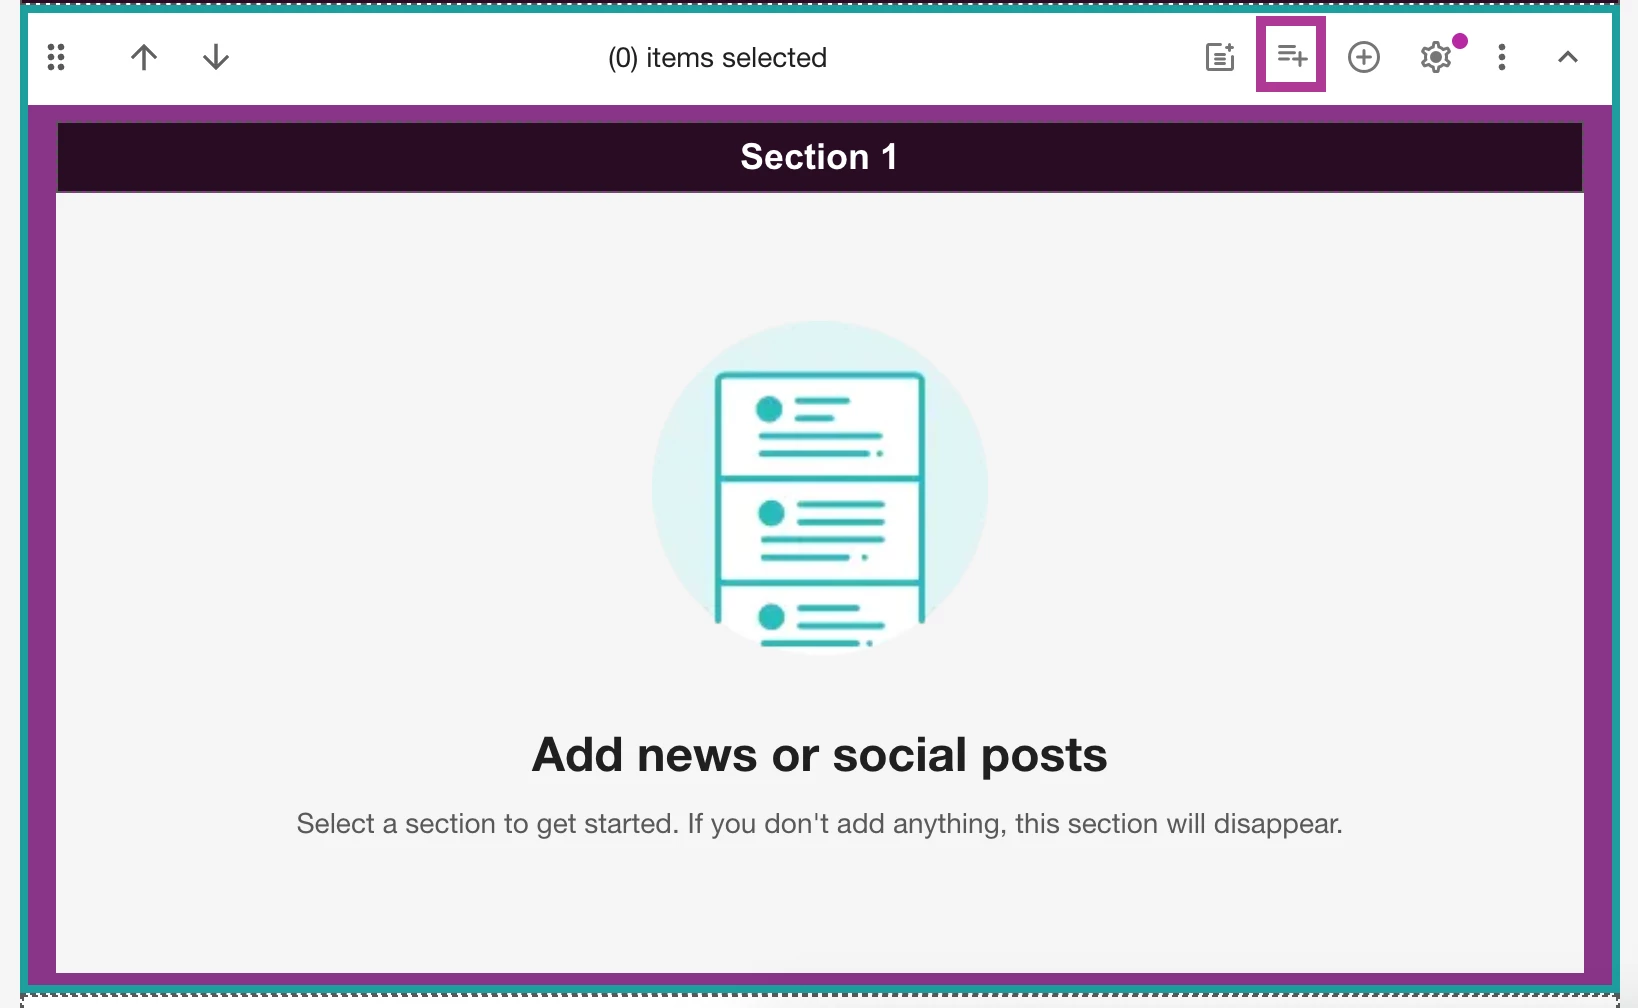
- For additional organization in your Sections, click into a section
- Select Add subsections
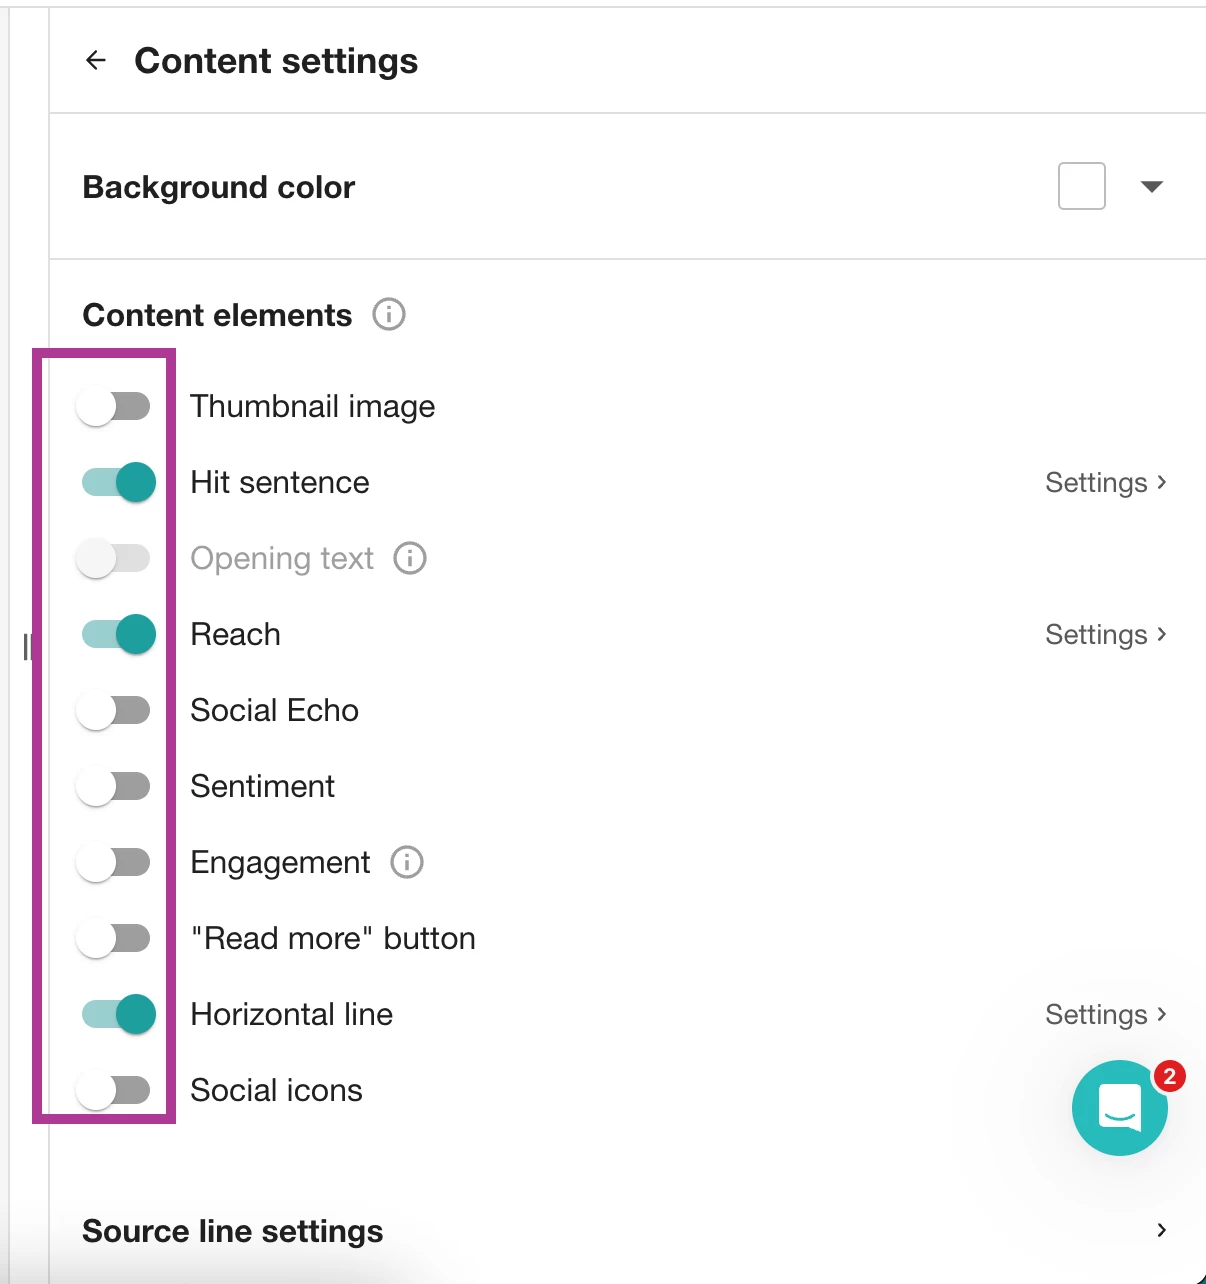
- To customize how articles display, click into a section
- Select the + icon to the left of an article you want to add
- Click Content Settings

- To control how mentions appear, toggle option on and off
- To show or hide the author's name in the Source line
- Select Source Line Settings
- Toggle off Show Author Name
- Click on Save Draft if you need to exit the newsletter creation area at any point
-
Click on Content Guidelines to set:
- The maximum number of articles per section
- Content sorting by publish date or reach
- How duplicated – or syndicated – content is handled
- What to display when a section has no content
Note: These rules tell Meltwater exactly how to generate each automated send.
- Click Setup and Schedule in the top-right corner.
- Enter a Newsletter Name
- Enter a subject line
- Select your approved sende
- If applicable, select your language and time zone.
- Select a recipient list or create a new recipient list
-
Click the Select Recipient List drop-down
-
Select Recipient List to create a new distribution list.
-
Add in your recipients’ email addresses, separated by commas. You can add up to 1,000 email addresses per list.
-
Click Create
-
- If you’d like to review the content before sending to your recipient list, click on Yes (send to me for review and approval before sending) or No (skip approval).
- Select the draft review or sending time.
Note: Automated Newsletters can be sent at minimum once per week, and at maximum twice daily.
- Click Schedule
- Select Save Template
Using a Template Design for Multiple Newsletters
Duplicating Your Template Design
-
Click Newsletters in the left-hand navigation bar
-
Navigate Newsletters
-
Select View all
-
Hover over the template you want to duplicate
-
Select Duplicate
Similarly, if you’ve created a design you love for a Manual Newsletter but later decide to use it for an Automated Newsletter, you don’t need to recreate your design from scratch - you can convert it!
Converting Your Template Design from Manual to Automated (and Vice Versa)
-
Click Newsletters in the left-hand navigation bar
-
Navigate Newsletters
-
Select View all
-
Click the kebab menu on the Newsletter you want to convert
-
Select Convert
-
If you selected a Manual Newsletter, select Convert to automated. If you originally selected an Automated Newsletter, select Convert to manual.
FAQS
What will happen to my classic newsletters?
Today, you can find a button that allows you to toggle back to the Classic Newsletter. You can still continue using your Classic Newsletter, but we recommend you try out the new experience.
Where are Newsfeeds?
Newsfeeds has moved to “Content”

What are the different types of Newsletters?
-
Manual: 100 articles per section with a 200 article max total
-
Automated: 500 article max
Can I receive readership analytics for my Newsletter?
Yes! All newsletters are sent through our sending partner, Sendgrid. You'll need to set up an Approved Sender and update your Newsletter ‘From’ field in order to gain access to readership Analytics. Familiarize yourself with this process, HERE.
What does the new terminology in Newsletters mean?
-
Project: a template design created in our app + settings + search inputs
-
Template: The design and layout of your Newsletter (i.e., how it looks!)
-
Newsletter: the version that you are drafting, scheduling or sending via email (i.e., a sent Newsletter, a scheduled Newsletter, a newly drafted Newsletter)