


Where to Find Mira Studio
To use Mira Studio, click on Mira Studio in the left-hand navigation bar to get started

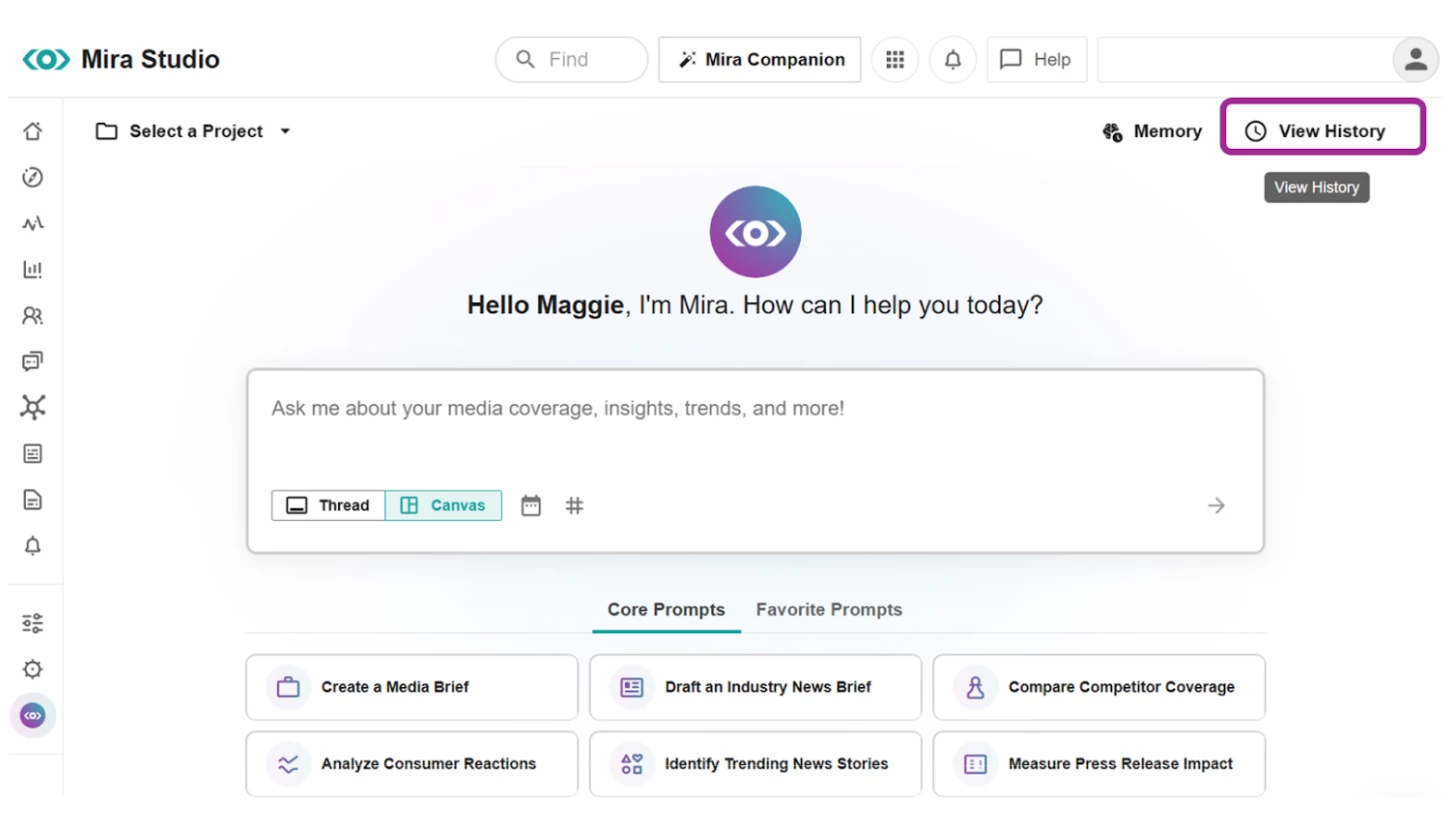
Using Mira Studio
There are three ways to interact with Mira Studio
Extensive Prompt Library - Recommended
The View our extensive prompt library has been designed with use cases from industry peers and is our recommended interaction, especially if you are new to writing prompts.
The prompt library is home to nine prompt categories, with the Brand Monitoring section expanded by default.

Prompt Library sections include:
- Brand Monitoring
- Competitive Intelligence
- Industry Trends
- Crisis Management
- Stakeholder Briefing
- Media Relations
- Analysis/Reporting
- Social Influencers
- Social Intelligence
⭐ Pro tip: Click the star icon to favorite a prompt.
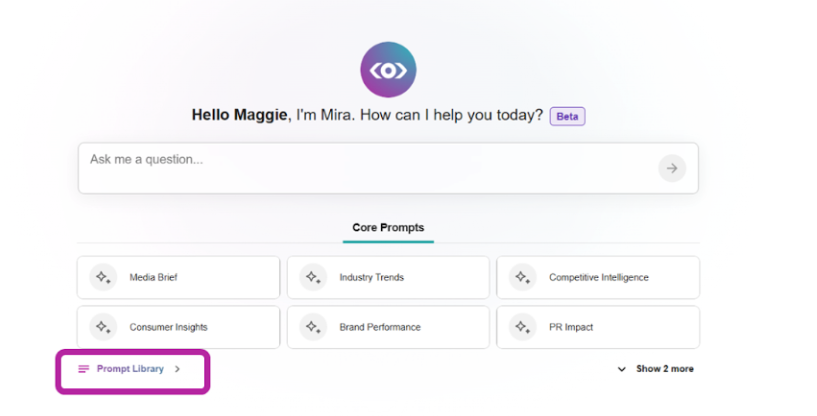
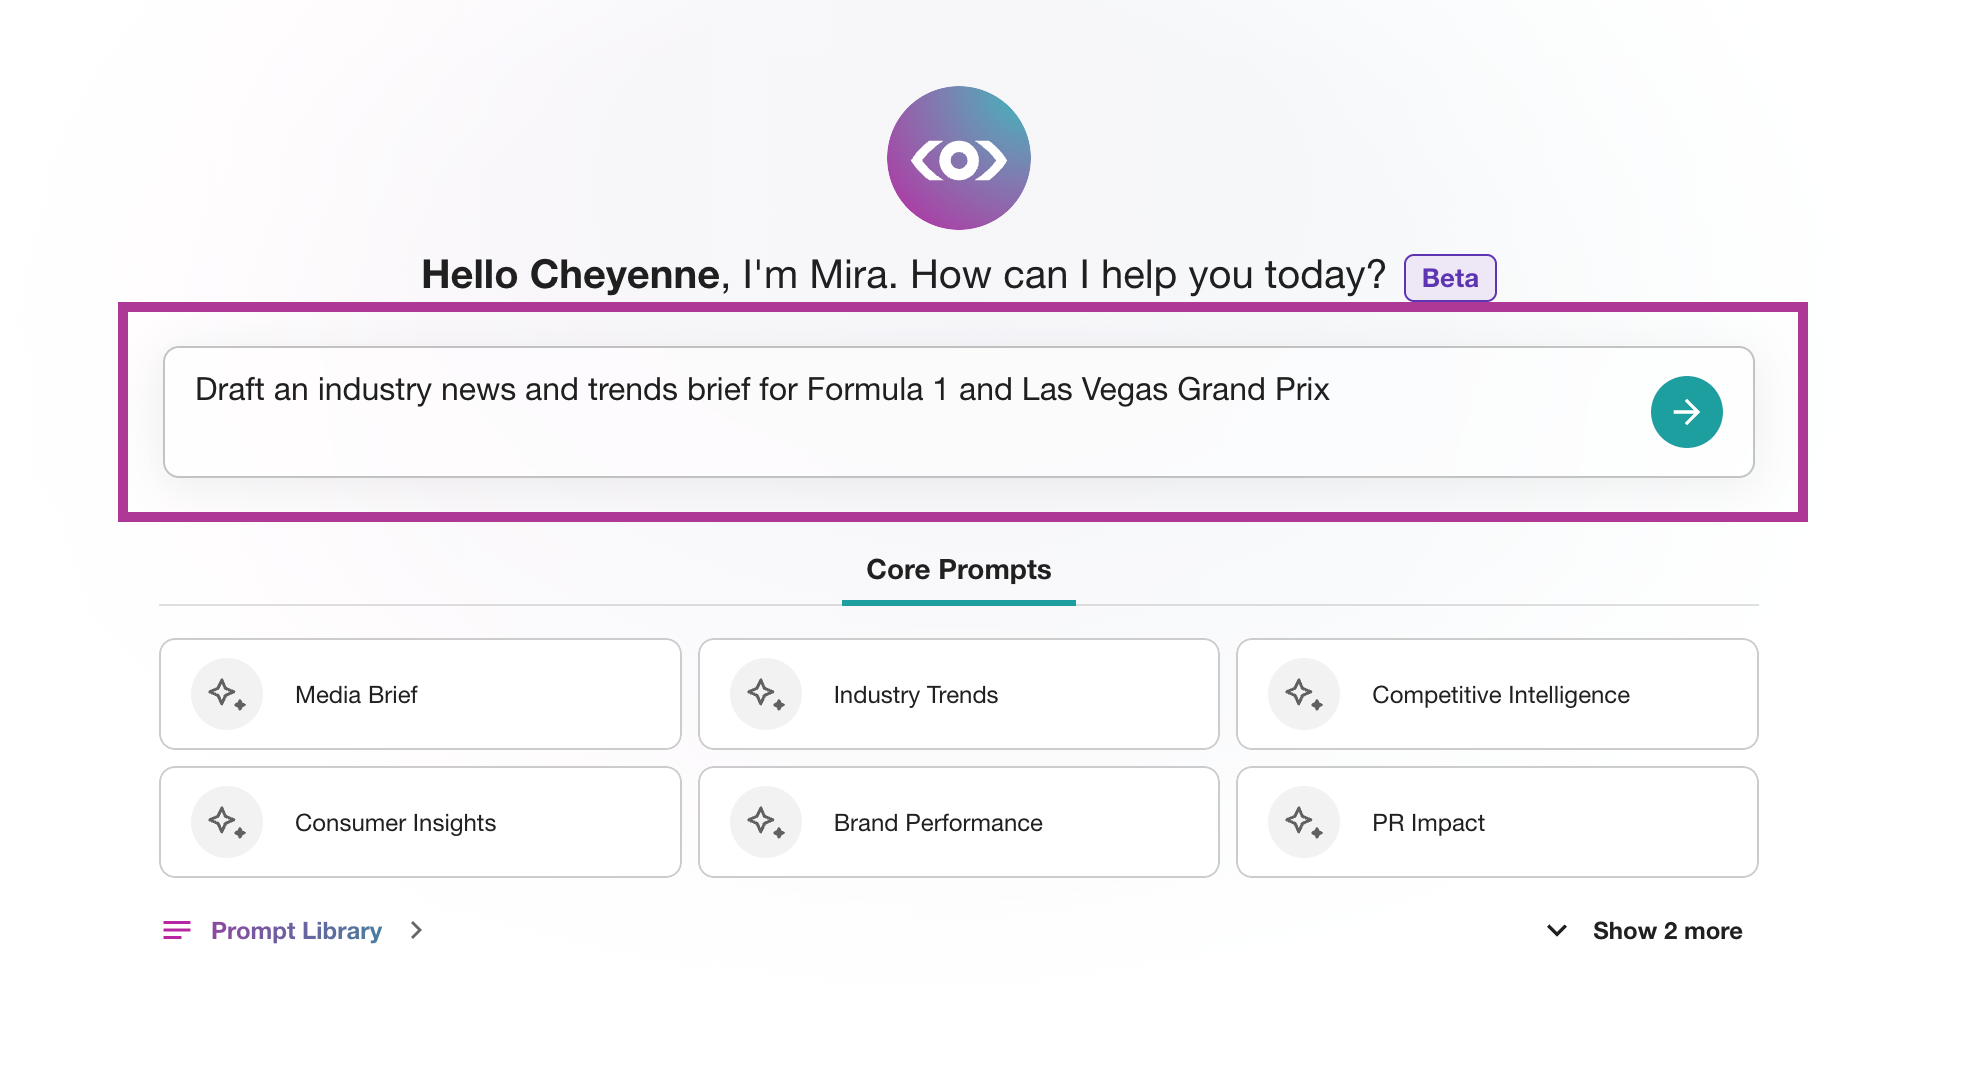
Select a Core Prompt
Core Prompts are suggested prompts available after the Prompt Bar.
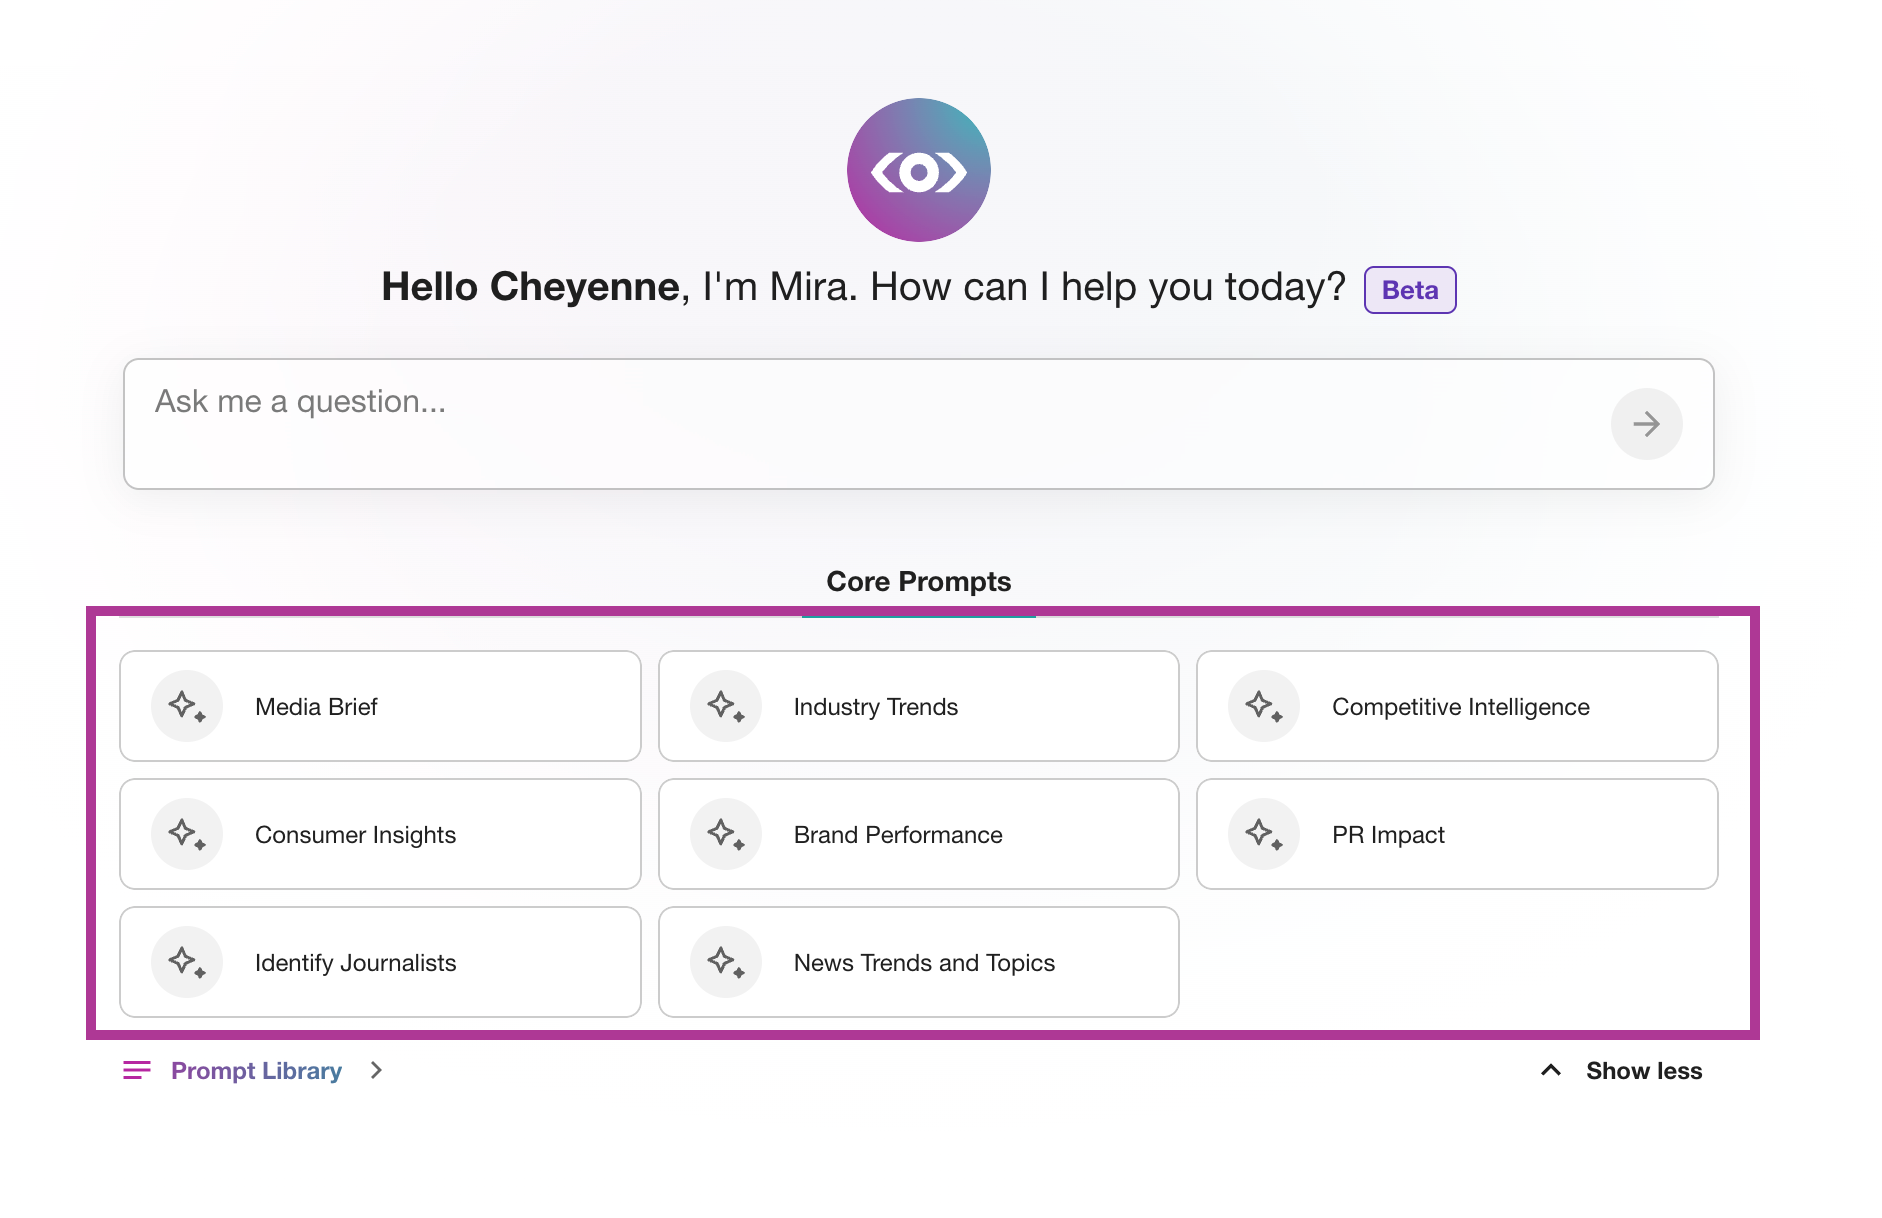
After clicking one of the buttons, these prompts appear:
- Media Brief: “Create a media briefing for [person of interest] and [journalist] to discuss [topic]”
- News Trends and Topics: “What is going on in the news with [brand or topic]”
- Industry Trends: “What are the latest trends for the [industry]”
- Competitive Intelligence: “Compare the coverage of [brand X] and [brand Y] in the media”
- Identify Journalists: “Identify journalists or authors writing about [topic or theme]”
- Consumer Insights: “Analyze emerging consumer expectations or reactions to [product or service]”
Typing in a prompt
In the Ask me a question… box you can type a prompt.
Viewing Prompt History (Full Page View)
- Click Mira Studio in the left-hand navigation
- Select View History in the top right-hand corner
- Click View All
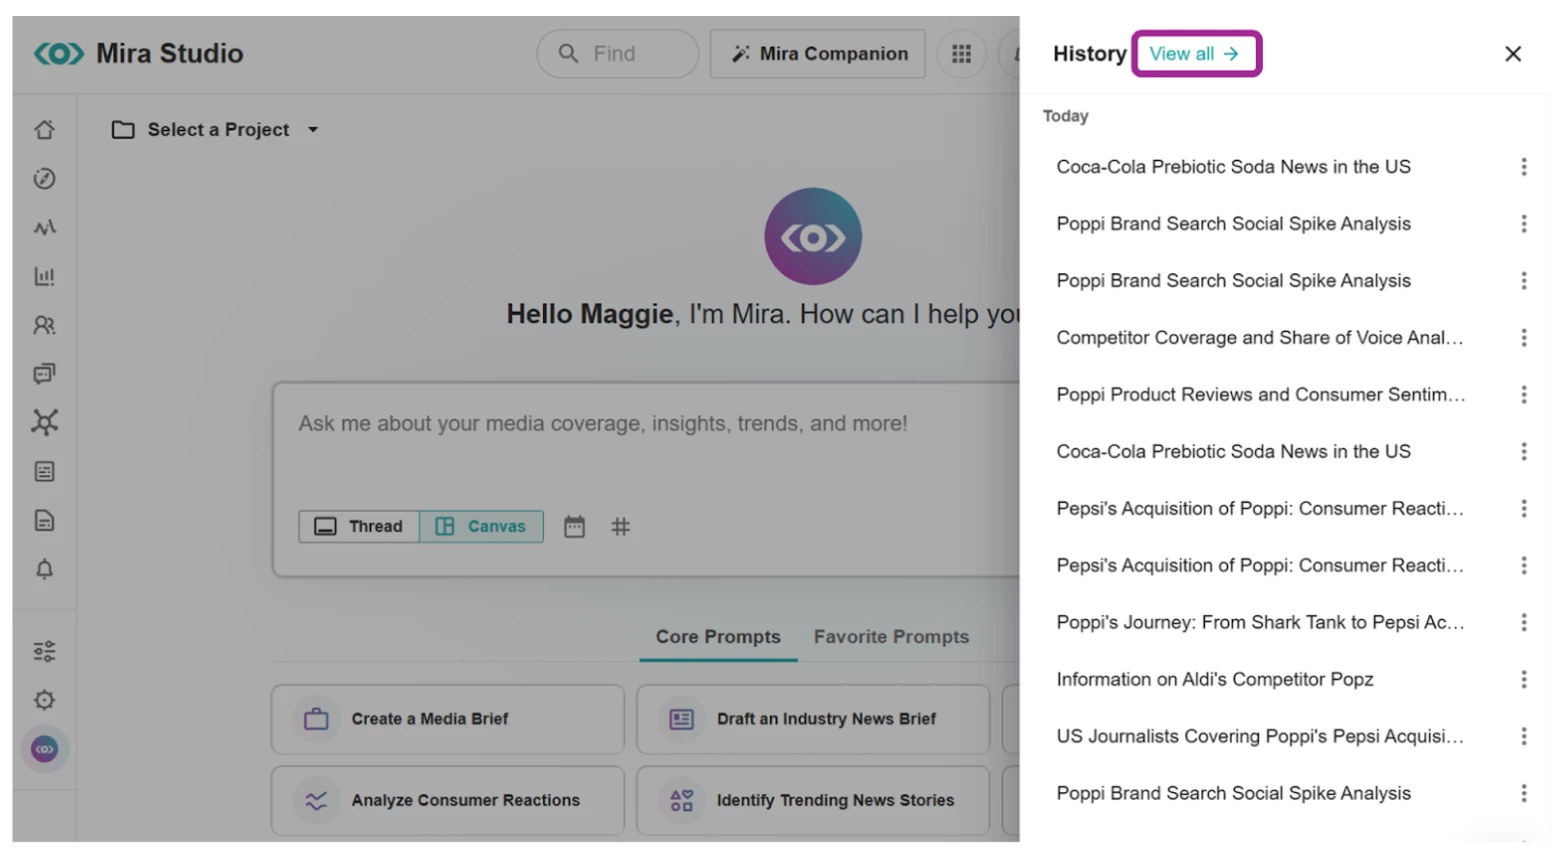
Note: If a Project was applied, it appears after the recent prompt name.
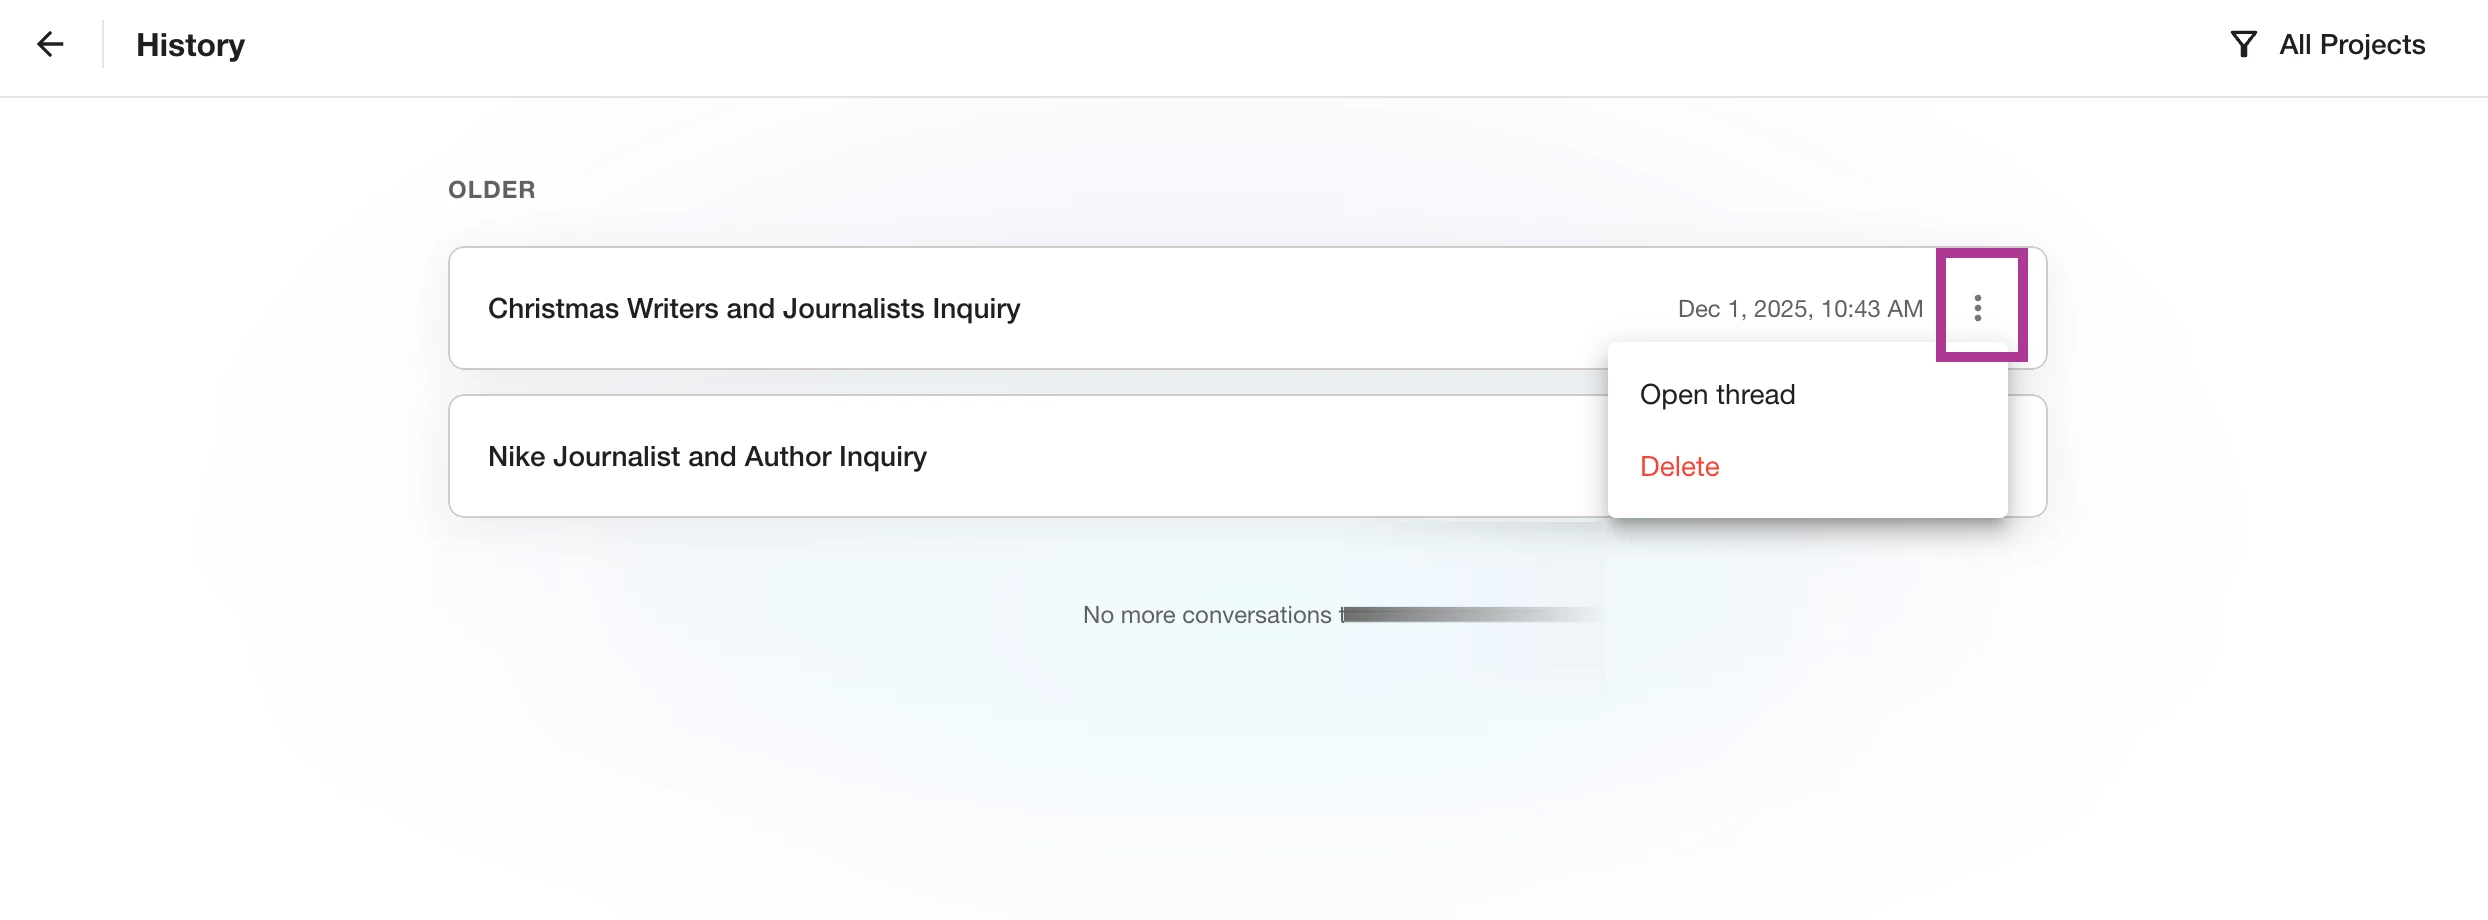
- Select the kebab menu to select between the following options
- Open Thread
- Delete
- To narrow down Prompt history by Project, click the All Projects in the top right-hand corner
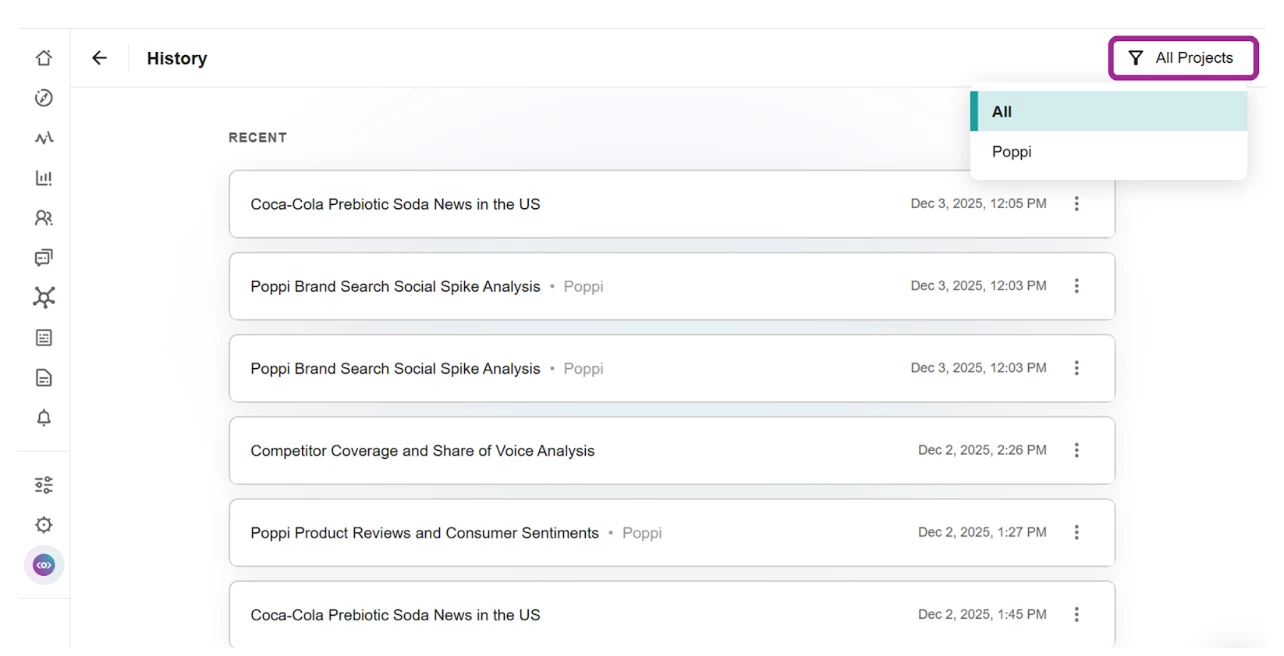
- Select the Project for a list of historical prompts specific to the Project.
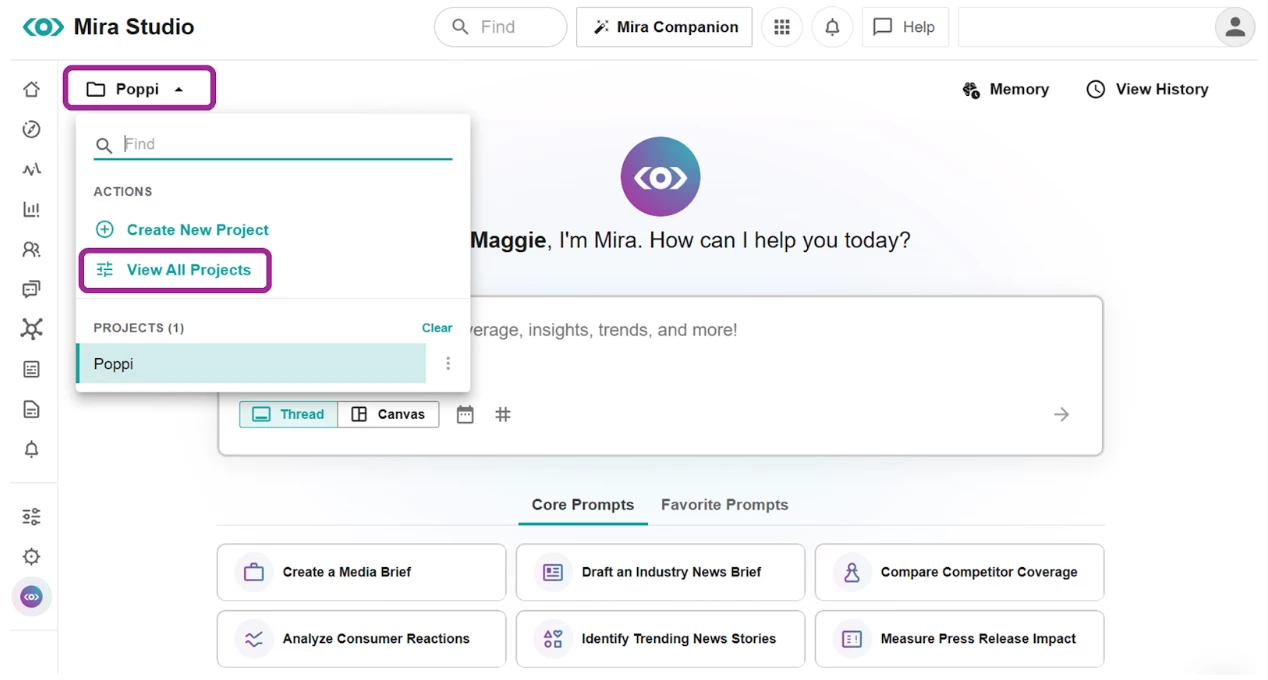
Viewing the Project Table (Full Page View)
- Click Mira Studio in the left-hand navigation bar
- Select the Select a Project drop-down in the top left-hand corner
- Click View All Projects for a full-page table view.
-
In the table view, you can:
- See each Project’s name, visibility, and last used timestamp.
- Click the Project to see or edit the Project instructions.
- Click the drop-down under Who Sees This? to change visibility from Only Me to My Company (Admin access only).
Note: To apply the access changes, refresh the browser
- Select the kebab menu to take any of the following actions:
- Edit Project name
- Delete Project
- Set as personal default: automatically loads this Project each time you open Mira Studio
- Set as company default: automatically loads this Project each time anyone in the company opens Mira Studio
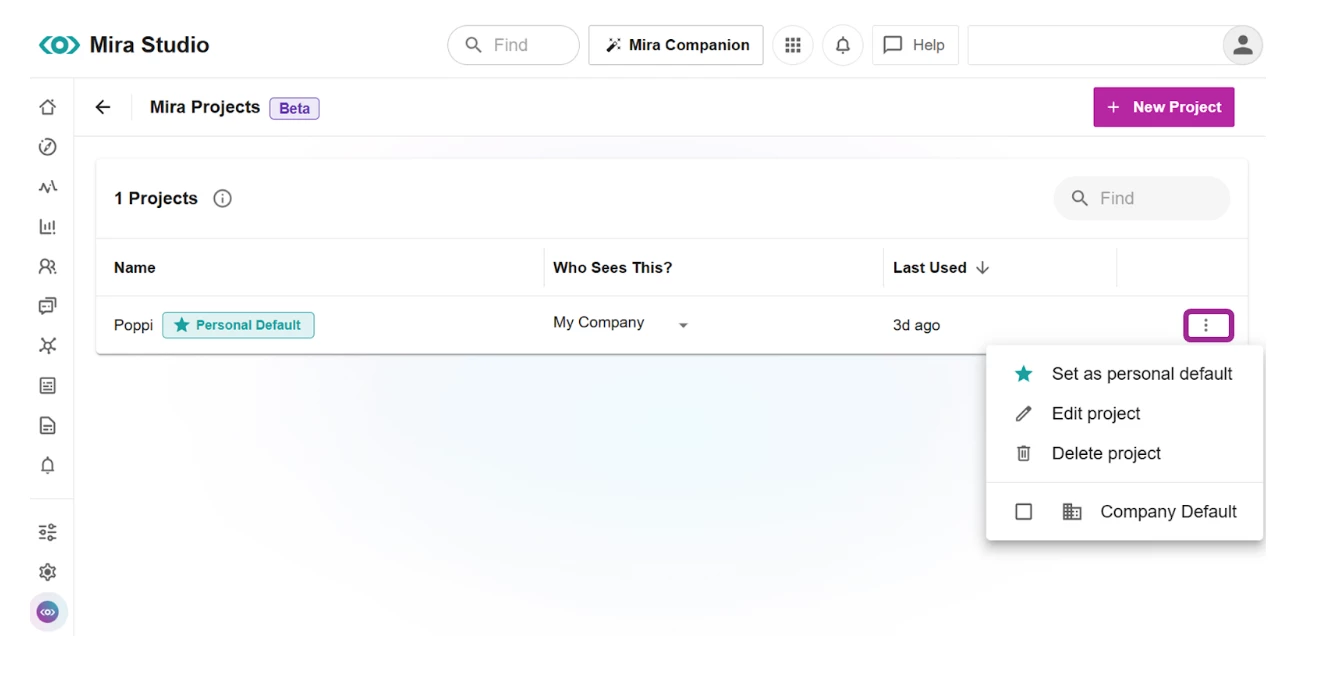
Note: You can also sort the Projects table by Last Used (ascending or descending) for faster access to active or recent work.

Using the Extensive Prompt Library
- After selecting View our extensive prompt library, click on a prompt.
- In this example, we have chosen, Understand topical news around your brand products

- Or, create a new prompt to share with your team by selecting Create New Prompt and filling in the required fields

- Click the Thread-Canvas toggle to change the layout of Mira Studio’s response before editing the prompt.
- After clicking the prompt, you will be brought back to Mira Studio to edit the text and build your customized prompt. Here you, will need to update the prompt by inserting your topic, brand or organization.
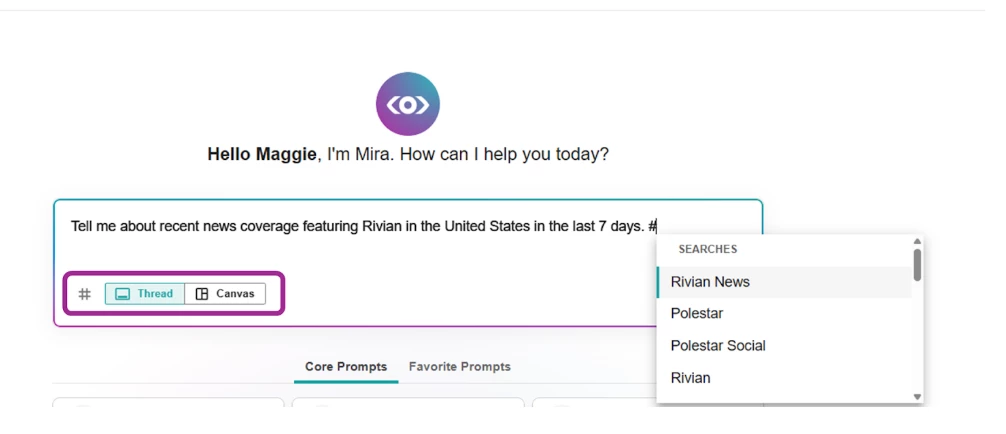
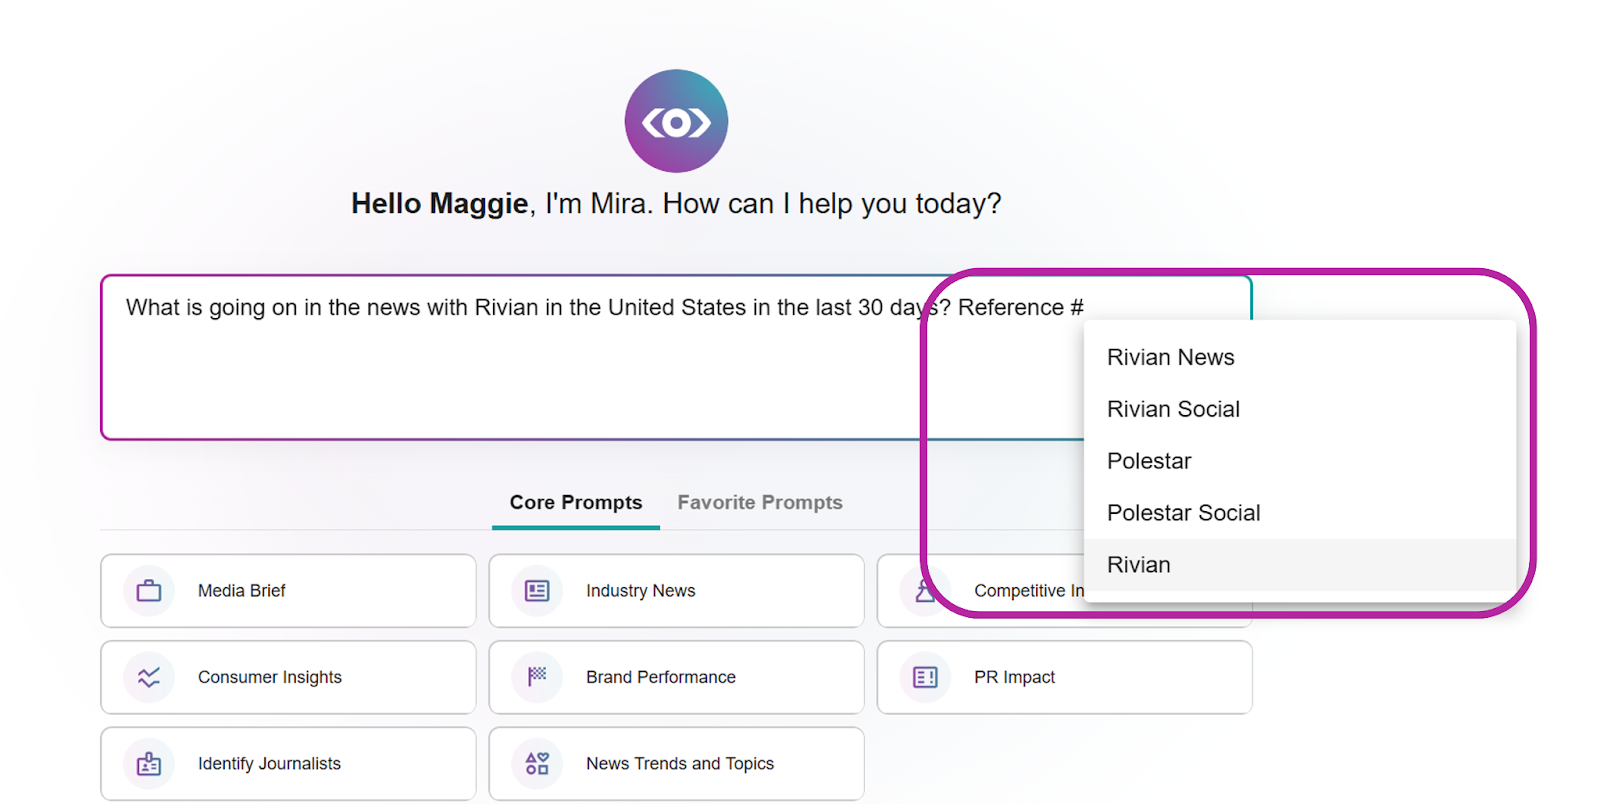
Before Customizing the Prompt

- Include “#” to open a list of existing searches in your account.
- After selecting a search, complete your prompt as usual. The response will be relevant to your Explore search.
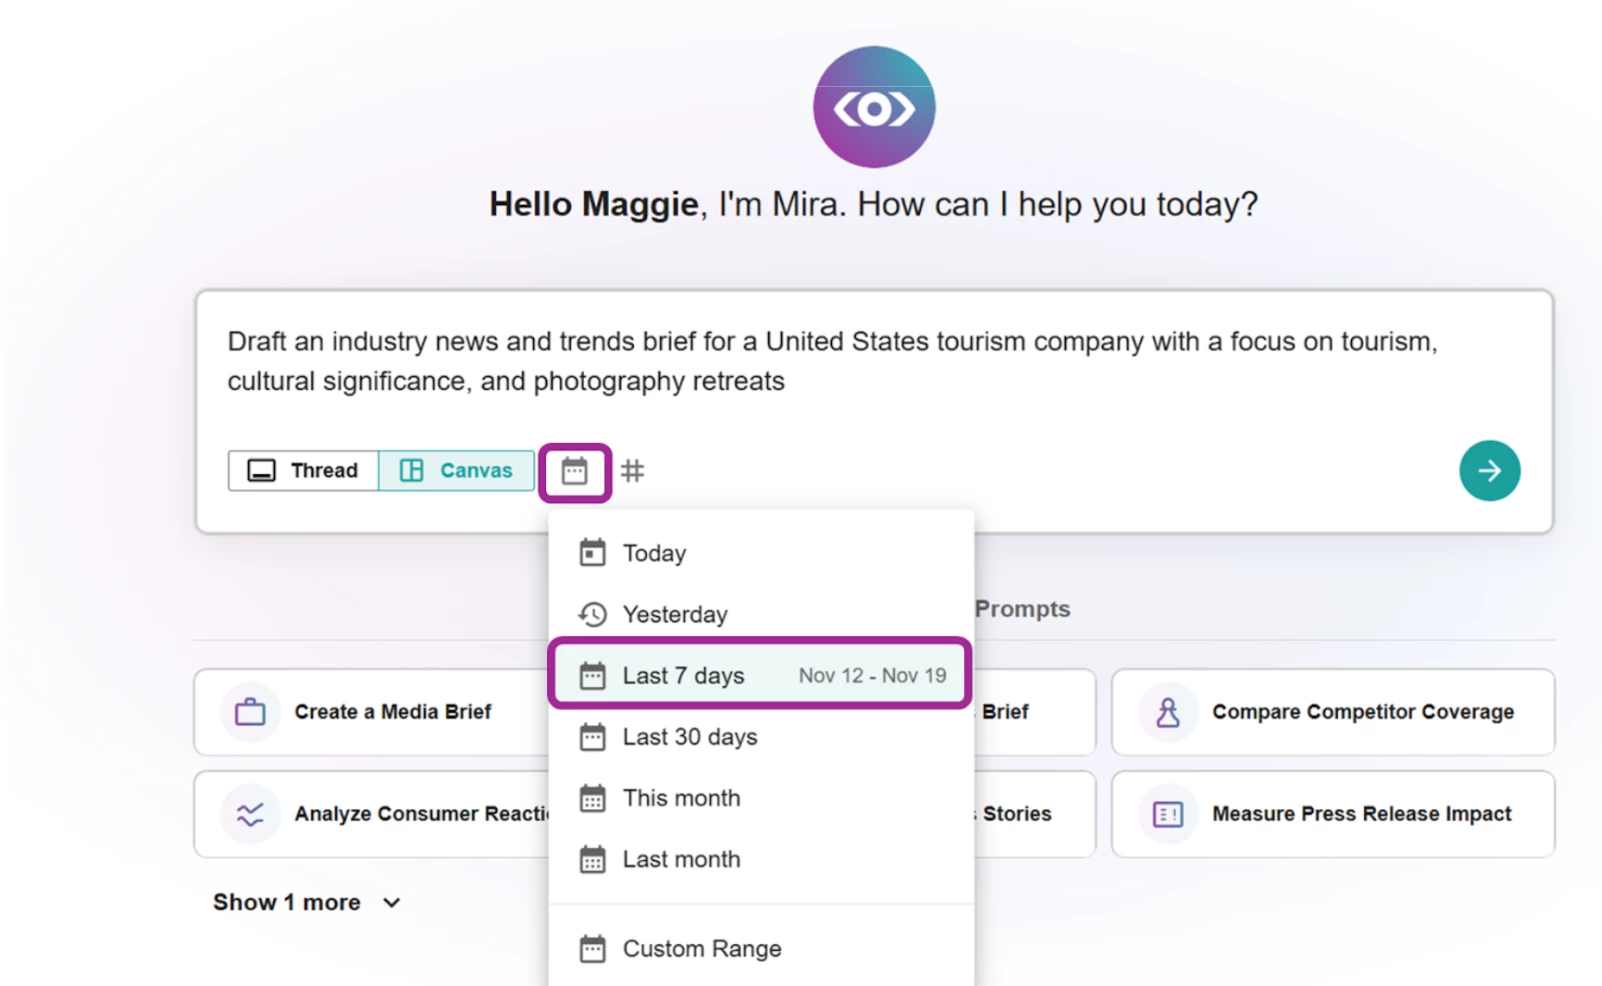
- Click the calendar icon to select a specific date range. Or type ranges manually if preferred.
- After customizing your prompt, click the green arrow or hit Enter on your keyboard

- After submitting, Mira Studio scans Meltwater’s database, news sources, and internal AI-powered indexing to find the most relevant information.
Note: Mira Studio delivers a structured response that includes key takeaways, sentiment analysis, and relevant data points. Every response includes verified source links, allowing you to explore full articles and validate insights.
- Click View History to refer back to an original thread, rename it, or delete it.
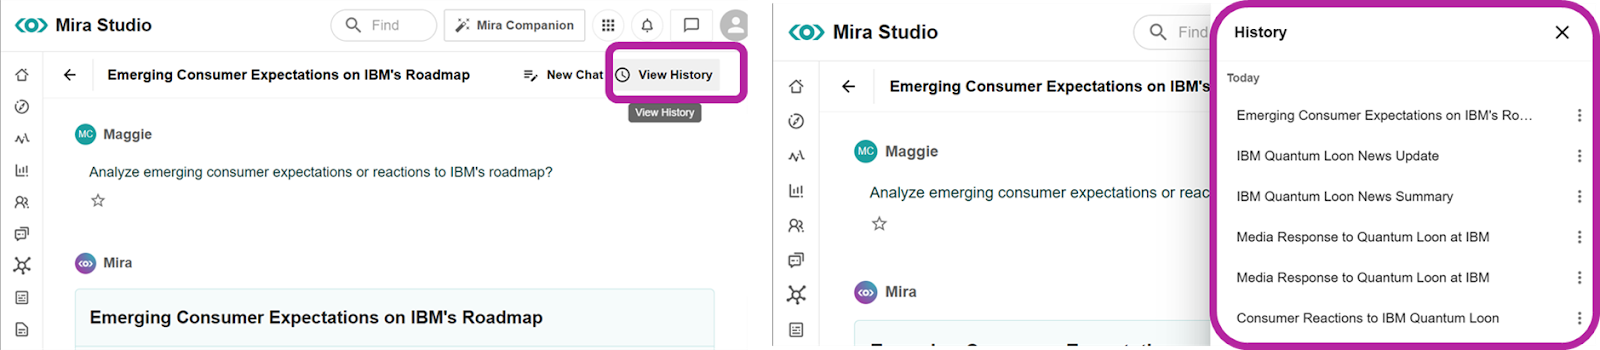
Note: Mira Studio’s access to conversation history lasts 30 days.
- Click on any link to open the article in a new tab

- Some Mira Studio responses will result in bolded sections that allow you to follow up and dive deeper into that topic. Click on the bolded words.

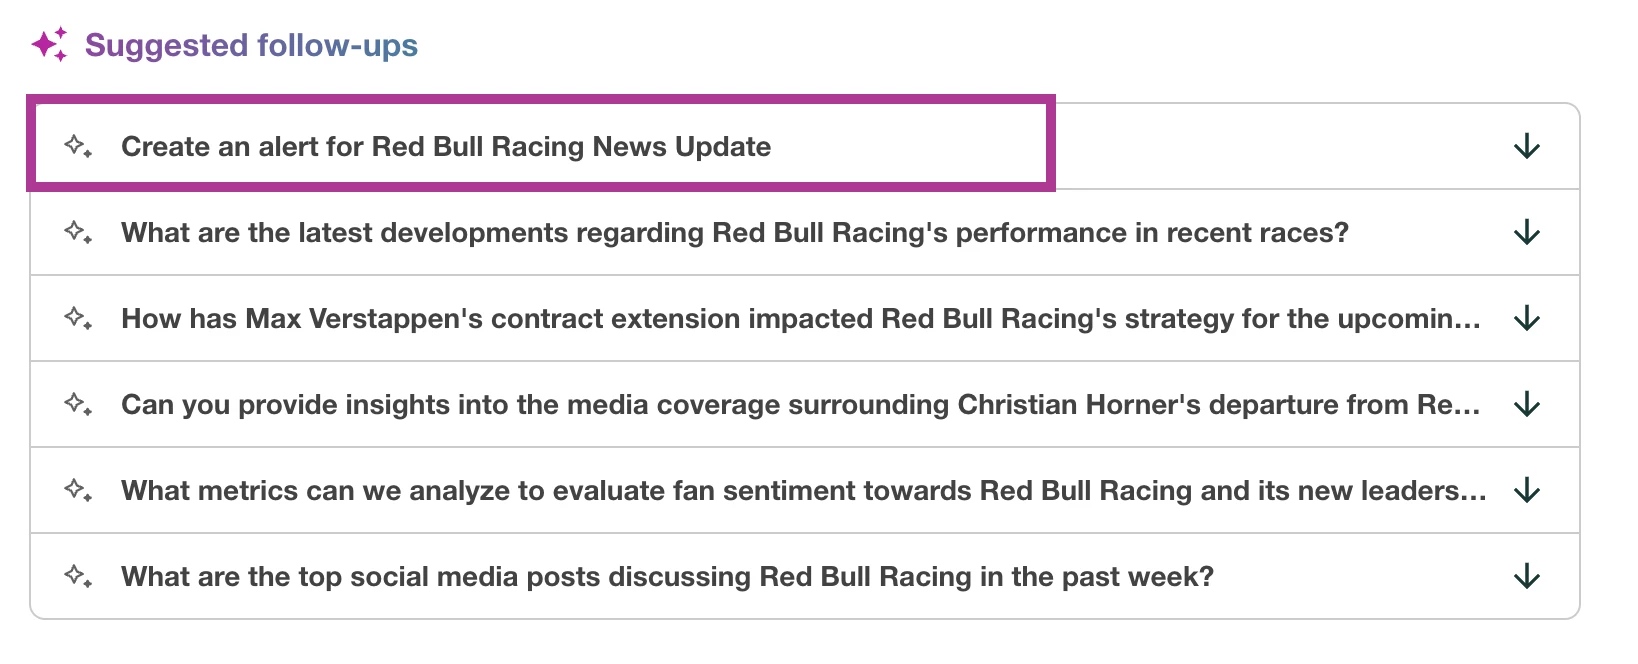
- At the end of the prompt, you will see a list of Suggested Follow-Ups. Suggested follow-ups are related topics to dive into, helping you refine your search or expand on the insights provided.

- To annotate and edit a message in canvas view, select View Message in Canvas
- Annotate and edit as needed in the right-hand slide-out
- Annotate and edit as needed in the right-hand slide-out
- Click on a citation link in Mira Studio’s results to add to a Newsletter
- Click Share in the Canvas View to view sharing options
- To create an Alert, select Create an alert for…. Your new Alert can be viewed and edited in Alerts found in the left-hand navigation bar


- To share results via a link, select Share as link
- Update the password as needed
- Select Generate link
- Click Copy invitation to share both the link and password with your team

- Click on Download as PDF to export results in PDF format.

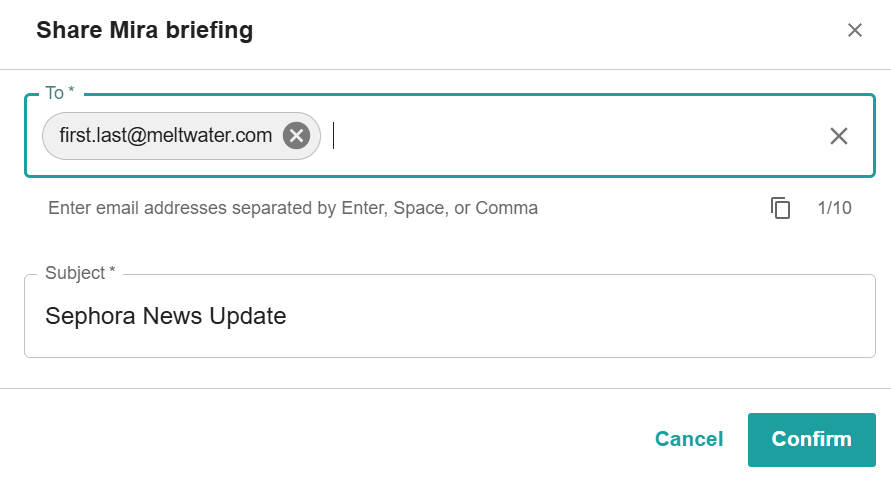
- To share your results via email, select the mail icon
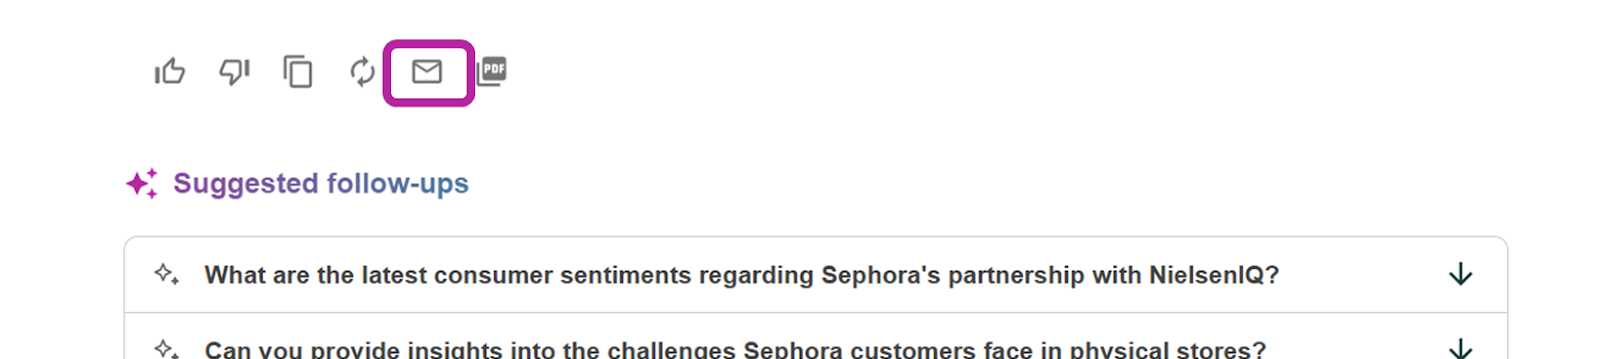
- Type in your recipient’s email address
- To add more recipients (maximum 10), add a space, comma, or click enter on your keyboard
- Select Confirm
- To provide Feedback, click on the Thumbs Up or Thumbs Down based on your experience. Using these buttons will route the feedback to our Product and Engineering team.

- A text box will expand for more detail. Please be as specific as you can and we will aim to group and action feedback.
Thumbs Up

Thumbs Down

Note: Mira Studio is in Beta, and can make mistakes. Don’t forget to validate your findings and ensure you review the content before presenting it as your work.
⭐️ If you are interested in a free 90 day trial, complete this form.