


Custom Fields let you create your own labels or categories to organize and analyze your search results in a way that matches your business needs.
Think of them like adding an extra layer of structure to your data—beyond what Meltwater provides by default.
Custom Fields are helpful when you want to compare or group content in a specific way.
For example:
-
You’re tracking multiple brands across different themes like sustainability, product launches, or crisis mentions.
-
You want to filter and break down your results by region, campaign, or audience type.
Once a Custom Field is set up, you can:
-
Assign values (like "Brand A", "Brand B", "Product Launch", "CSR", etc.) to your content
-
Filter search results instantly based on these values
-
Visualize trends and comparisons using widgets in Insight Pages
(e.g. show how different brands are being discussed across key topics)
Creating a Custom Field
Note: To create a Custom Field in Explore+, you must be an Admin in Explore+.
To create a Custom Field, follow these steps:
- Click the Explore+ drop-down in the left-hand navigation bar
- Select Assets
- Click Custom Fields at the top of your screen
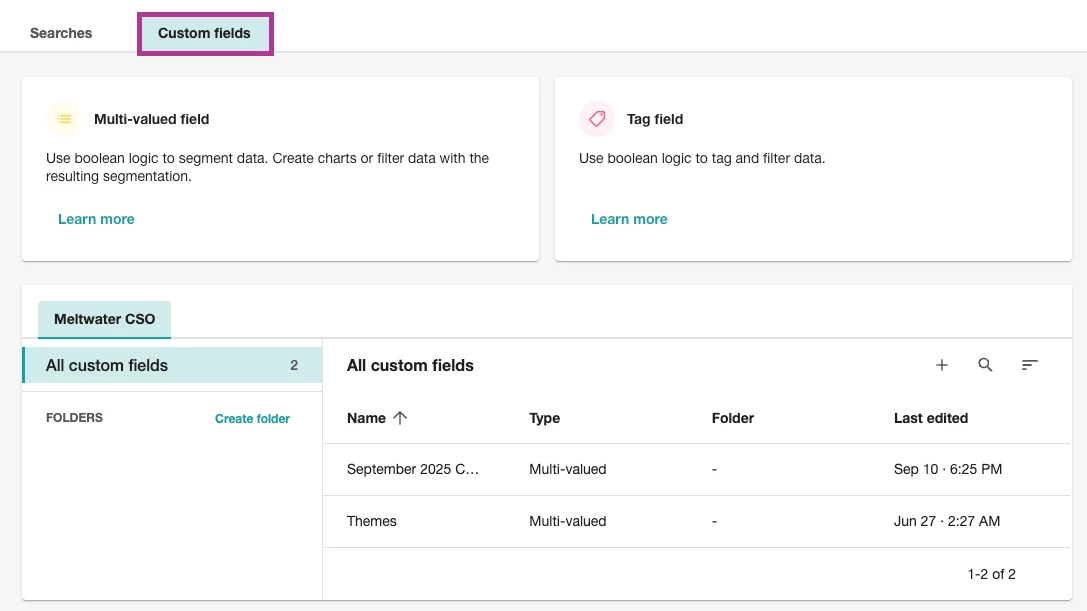
- Select between Multi-valued Field or Tag Field
- Multi-valued Field: Tag content with one value from a predefined list to categorize and break down data in more detail.
-
Tag Field: Apply simple yes/no tags to content based on rules for quick filtering and analysis.
-
Select a Workspace
-
Click OK
-
Give the tag a Label
-
Select Create
-
Select Create Predefined Value
-
Enter a Value Name
-
Select a Display Order
-
Select a Color
-
Click Create Rule
-
Enter your keywords in the textboxes as needed
-
Add Filters as needed
-
Click Save