


Meltwater allows you to add online content (as long as it has its own URL address) to our platform. This allows you to include content not already within your monitoring without being added to the broader Meltwater database.
Online content you can add to the Meltwater platform includes the following media types: Editorial News, X (formerly Twitter), Facebook, Instagram, YouTube, Blogs, Forums, Comments, or Product Reviews.
Why would you use this feature? Let's say you send a monthly newsletter and want to include posts from your internal blog. You can add that blog post to our system and send it out with the rest of your news or social media.
Once the content is added via the steps below, it will be available for inclusion within your Search results, Tags, Dashboards, Newsletter, or Newsfeed.
This article will walk you through the following:
Two Ways of Adding Content Into Meltwater
-
Via the Meltwater Chrome Extension - If you’re a heavy web browser user and don't want to switch back and forth between your search tabs and our app, we have a solution that lives in your browser’s toolbar.
-
Via the Add Content Button in the Meltwater Platform - If you prefer to do most of your work in Meltwater, we still have our existing in-app add content feature.
Using the Meltwater Chrome Extension
The Meltwater Chrome Extension is your media monitoring companion tool for scanning web content outside of the Meltwater platform. You can capture, organize, and tag content from your web browser to Meltwater with the click of a button.
Most PR pros rely on multiple tools for monitoring media and ensuring nothing slips through the cracks, including Google Alerts or industry-specific newsletters. By working alongside you, the Meltwater Chrome Extension saves you time, stitches your media monitoring stack together, and establishes a central source of truth for reporting accuracy and consistency.
The extension can be downloaded directly from the Chrome store and can be pinned to your browser toolbar for one-click access. Learn more about the Meltwater Chrome Extension.
Installing the Meltwater Chrome Extension
-
Visit the Google Chrome store
-
Click Add to Chrome
-
In the permissions popup, click Add extension
-
The extension will then live nested under the “puzzle piece” icon on your Chrome toolbar at the top right corner of your browser. Google automatically stores extensions in this location
-
-
Click the puzzle piece to view the extension
-
For easiest use, pin the extension to your toolbar to avoid having to go into the puzzle piece dropdown each time you need to use it
-
Adding Content using the Chrome Extension
Anytime you come across a piece of content online that you’d like to tag or add to your Meltwater account, you can easily do so by:
-
Clicking on the Meltwater Chrome Extension icon in your Chrome toolbar
-
Click Add to Search if you would like to add it to an existing Explore search
-
Click Add tag if you want to add a tag
-
Complete all required fields they are marked with an *
-
Key fields, such as headline, description, and author, are pre-populated, but you can overwrite them if necessary.
-
For example, to highlight an executive’s quote, copy it from the article into the Description field, and it will be featured in Meltwater.
-
-
Click I agree with the Terms and Conditions
-
Click Save
If the content is already in Meltwater, the extension form will let you know and give you the option to add tags or add it to a search.
Using the Add Content Feature in the Meltwater App
If a browser extension isn’t your preference, don’t worry—you can still add content directly from the Meltwater app. The in-app Add Content feature allows you to add any online document to our platform using its own URL. Once the content is included via Add Content, it will be available in your Search results, Tags, Dashboards, Newsletter, or Newsfeed.
Follow the below steps to add content:
-
Select the Content drop-down in the left-hand navigation bar
-
Select Added Content
-
Select Add Content from the top right-hand corner
-
Enter up to 50 URL addresses of the content with either http:// or https://
-
Click Next
Note: If any documents already exist in the Meltwater system, you can select them and add them to your list of Added Content; this becomes a 'private' copy of the document for your account.
-
Click Add to Search if you would like to add these URLs to a search
-
Click Add Tags if you want to add this content to a tag
-
Click I agree with the Terms and Conditions
-
Click Next
-
The details from the document will be automatically uploaded to the second page. Required fields include the URL, title, and publish date. Optional fields include Description, Author, Image URL, Source, and Source Country. They can be edited and overwritten as you see fit.
Pro Tip: Copy and paste the article text into the description.
-
Click Add
The content will begin to process anywhere between 30 seconds and 1-2 minutes. You may continue to use Meltwater as it is processing. When the document is available, it will appear in the Add Content content stream, and you’ll see an indicator that it’s added in the system.
After you’ve added the content, the newly added content will be accessible in Explore, Analyze, Monitor, Newsfeed, Newsletter, and PR Insight Reports.
Removing Added Content
To remove content you have added, follow these steps:
- Click Content in the left-hand navigation bar
- Select Added Content
- Hover over the content you want to remove
- Click Delete
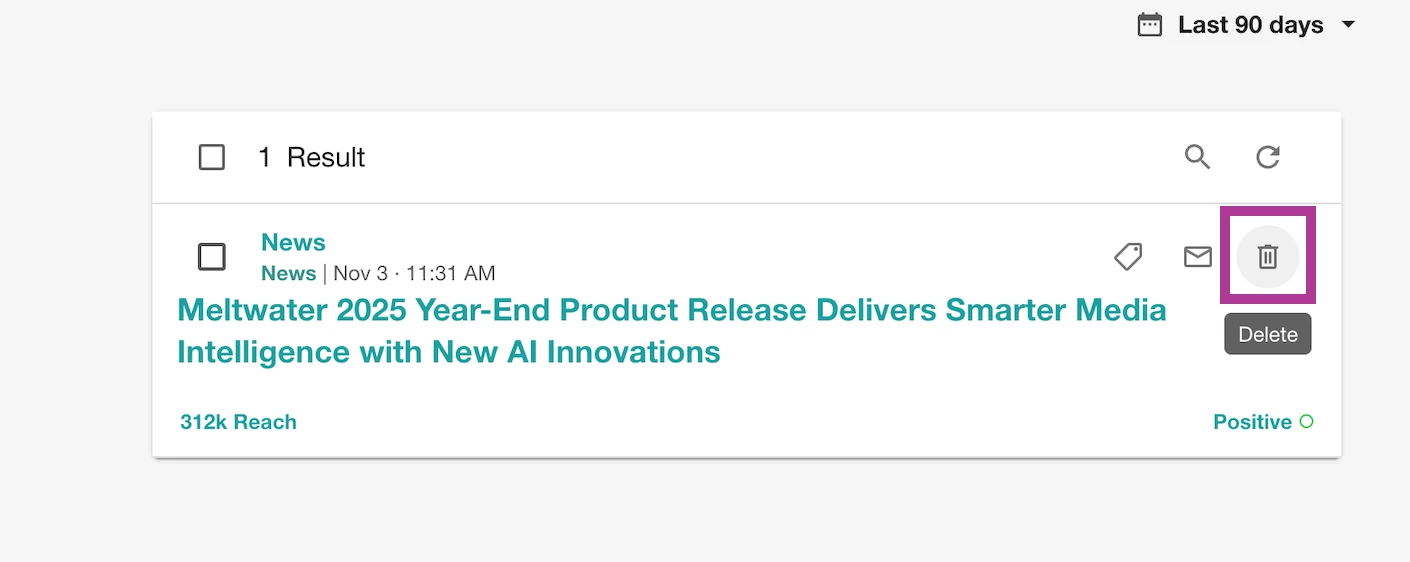
- Select Delete
Additional Troubleshooting for Missing Articles
If the article you've added in the Add Content section is still not appearing in the search folder you want it to, please check:
-
Keywords: Do the keywords within the search folder and the article match?
Note: Added content will pull through a desired search folder based on the title or description. The title or description MUST contain at least one keyword matching the Boolean criteria for the content to appear in a specific search folder.
-
Sources: When reviewing the search folder, check that the source type matches where the missing content comes from (i.e., Editorial News, Facebook, YouTube, etc.)
-
Date: Does the date range within your search folder include the date you entered when completing the add content form?
If you've reviewed these factors and still can't find the article, please contact our team via Live Chat using the Help button for further assistance.
Additional Tips to Utilize Add Content
You can modify and customize any document in the system to create your desired output. For example, you can:
-
Change the image displayed in the content stream
-
Change the title
-
Change the description (ingress)
You can add content that is not already in the Meltwater system and retrieve it with one of your searches. You can create a dashboard from those search results, and the added content will be displayed in any dashboard widget, export, or report.
If you want to add content to Meltwater that is not already hosted online (it does not have a URL), we encourage you to use any free or paid hosting platform to host your content online. You can use that URL in the add content flow and have it appear in your account.
How to Add a Source
If you notice that Meltwater is not monitoring a specific source, you can request that the source be added to the Meltwater Platform.
To do this, contact Meltwater support via live chat.