


After creating your dashboard, you can make edits as needed.
Unified Dashboards in Analyze is currently in Beta.
How to Edit a Dashboard
Customizing Input Colors
- Click Analyze in the left-hand navigation
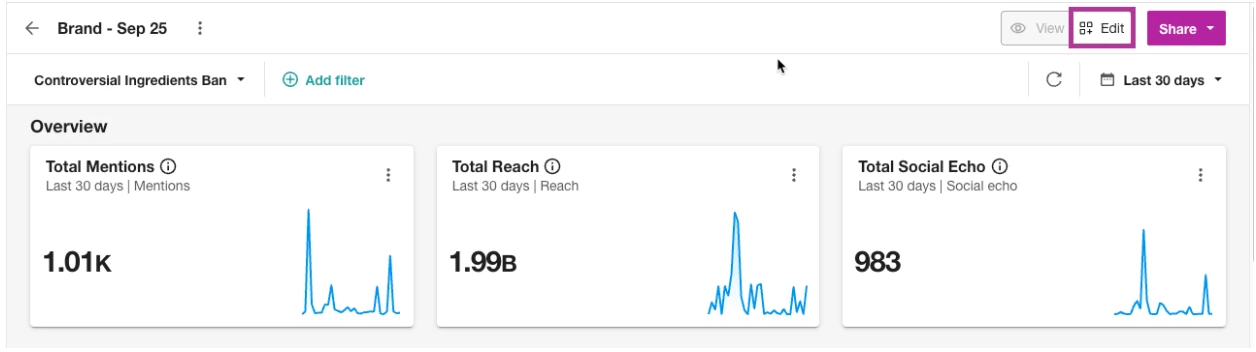
- Open your Unified Dashboard
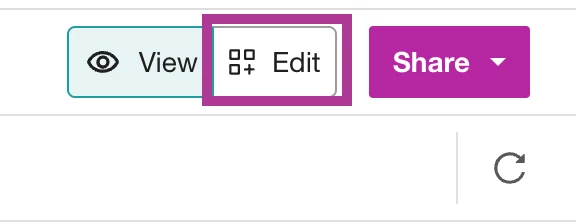
- Click Edit in the top right-hand corner
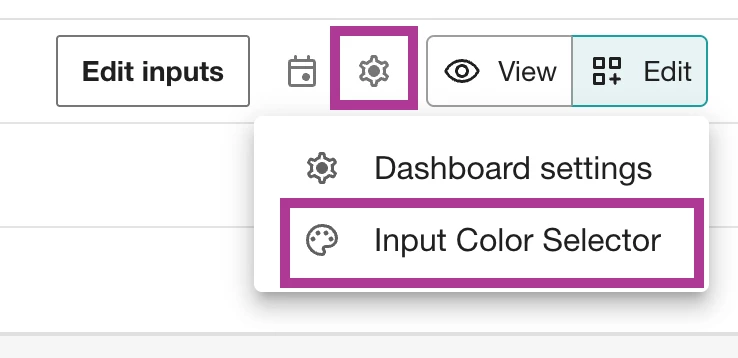
- Select the gear icon
- Click Input Color Selector
- Select your color
- Click Apply
Note: The color you assign will automatically apply to all tabs of your dashboard.
Editing or Adding Text
- Select Edit in the top right-hand corner
- Click Add new line
- Select Title/ text
- Click Add
- Enter your text
- Click Ok. Your text will appear at the top with an edit box. Here you can:
- Adjust the size of the text box

- Adjust the size of the text

- Move up or down

- Copy

- Delete

- Edit existing text

- Adjust the size of the text box
- Click anywhere on the screen, and it will add the new text to the dashboard.
Adding Additional Insights/Widgets
- Click Add new line
- Select Widgets
- Click Add
- + Add a new widget box will appear
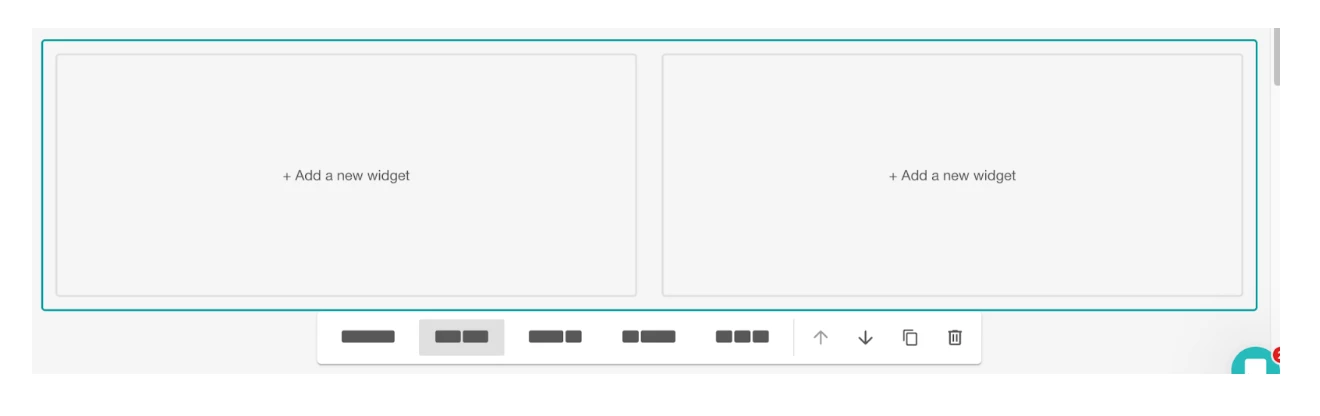
- Click on +Add a new widget
- Select a widget you want to add. Learn more about the Insight Catalog. A preview pop-up will appear
- In the top left-hand corner, select your Search(es)
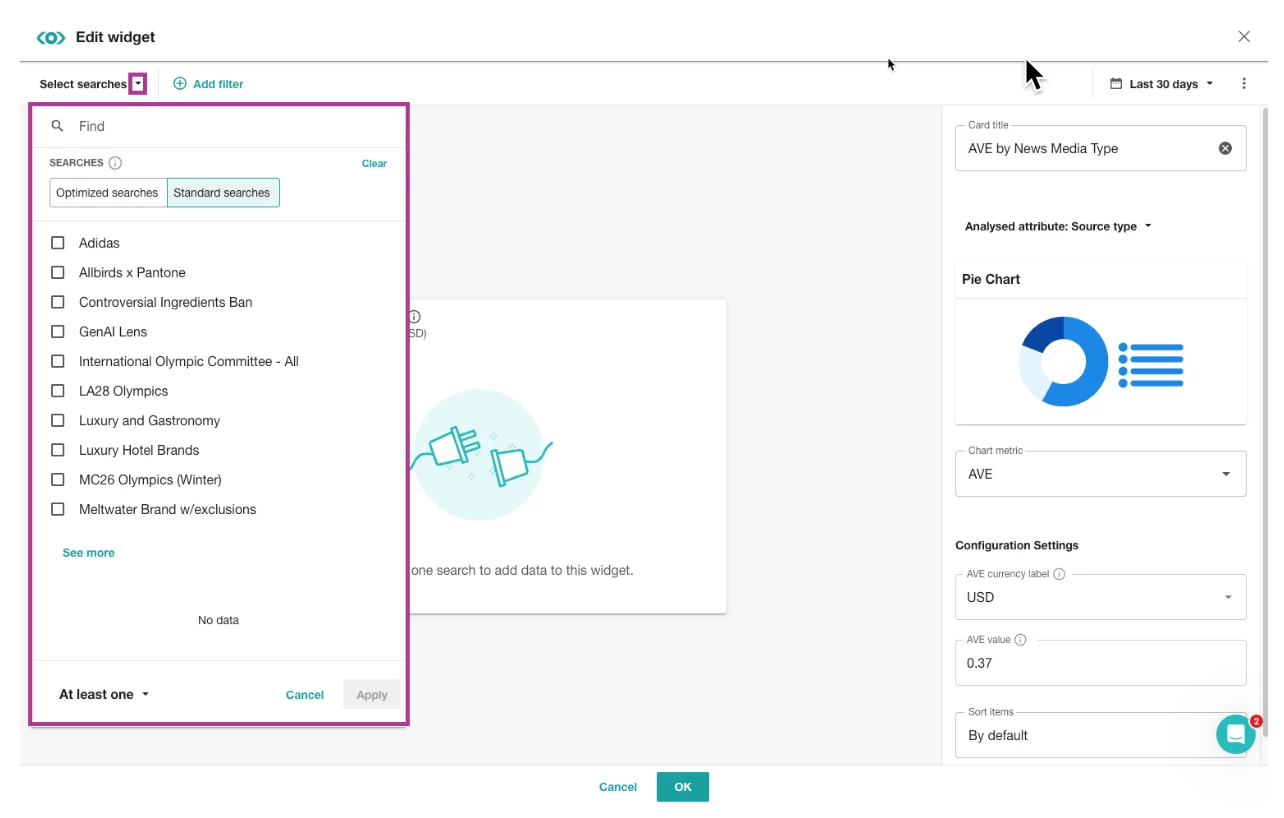
- Select the + Add filter to add any filters (optional)
- In the right-hand slide-out, make any necessary adjustments to details like date range, card title, chart metrics, etc.
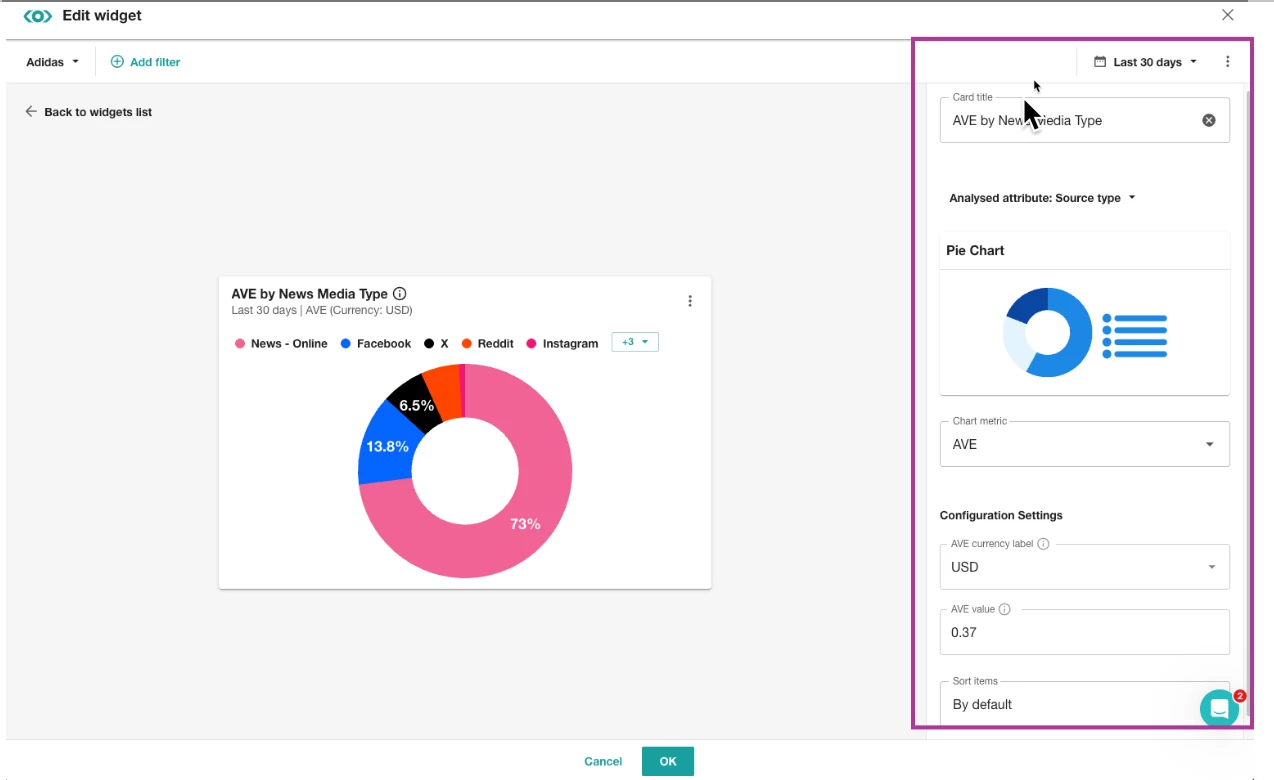
- Click OK
Editing an Existing Widget
- Navigate to the widget you want to edit
- Click the gear icon to
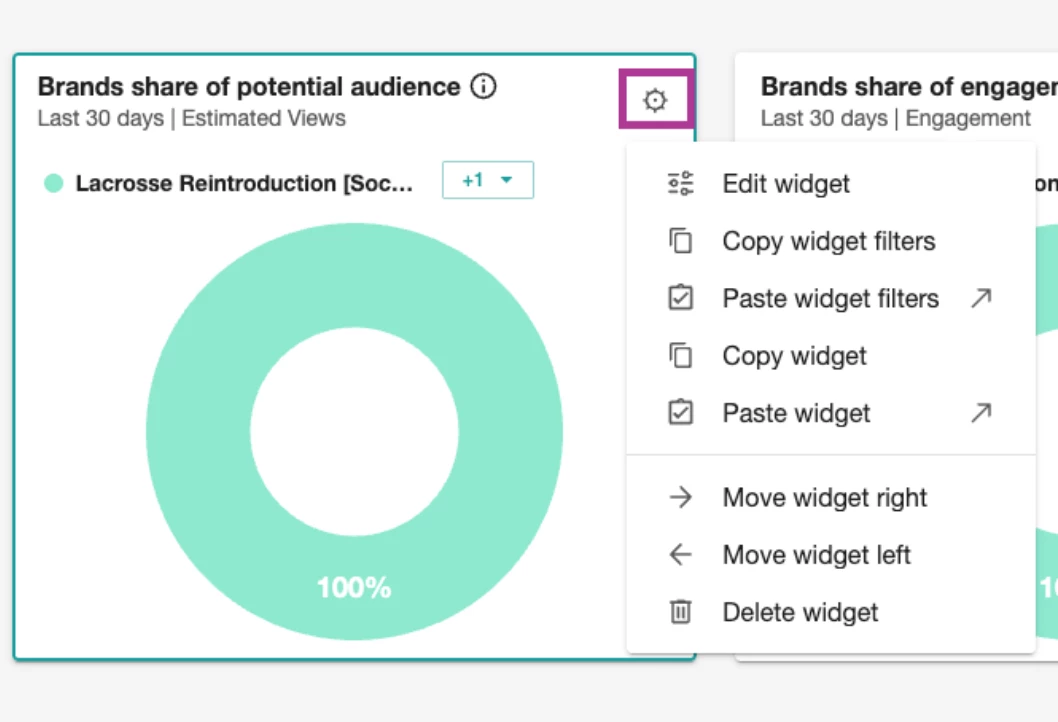
- Edit widget - The preview mode will populate to make your edits. Select OK once finished.
- Copy widget filters - Copy all of the widget’s existing filters to then paste to a different widget in your dashboard
- Paste widget filters - Paste the copied widget filters. Once filters have been selected, click Apply
- Copy widget
- Paste widget
- Move widget right - The widget must not take up the entire row to be moved. If it does, this action will not be available.
- Move widget left - The widget must not take up the entire row to be moved. If it does, this action will not be available.
- Delete widget - Remove widget from your dashboard
Applying the Same Filters to All Widgets in Your Dashboard
- Click the Filter icon in the top right-hand corner

- Select your filters
- Click Apply
Applying the Same Date Range to All Widgets in Your Dashboard
- Click the Calendar icon in the top right-hand corner
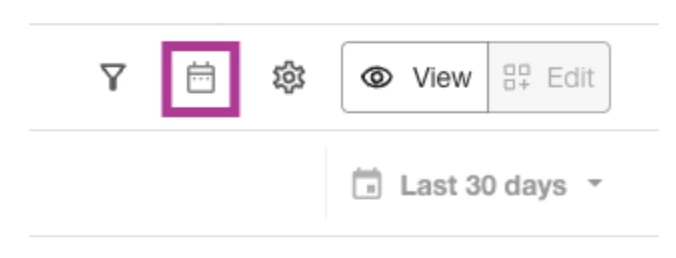
- Select a pre-existing date range or select a custom date range
Editing Page Settings
Page Settings help you bring structure and consistency to your dashboards, giving you more control over how your dashboard looks and works. They allow you to control how information is displayed, add helpful context for your audience, and create filter shortcuts that make navigation and analysis more efficient.
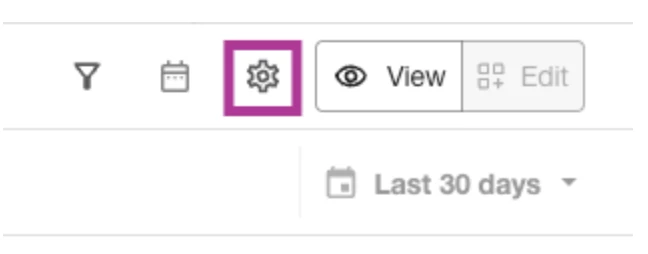
- Select the gear icon in the top right-hand corner
- To change the widgets time zone
- Select the Widget time range drop-down
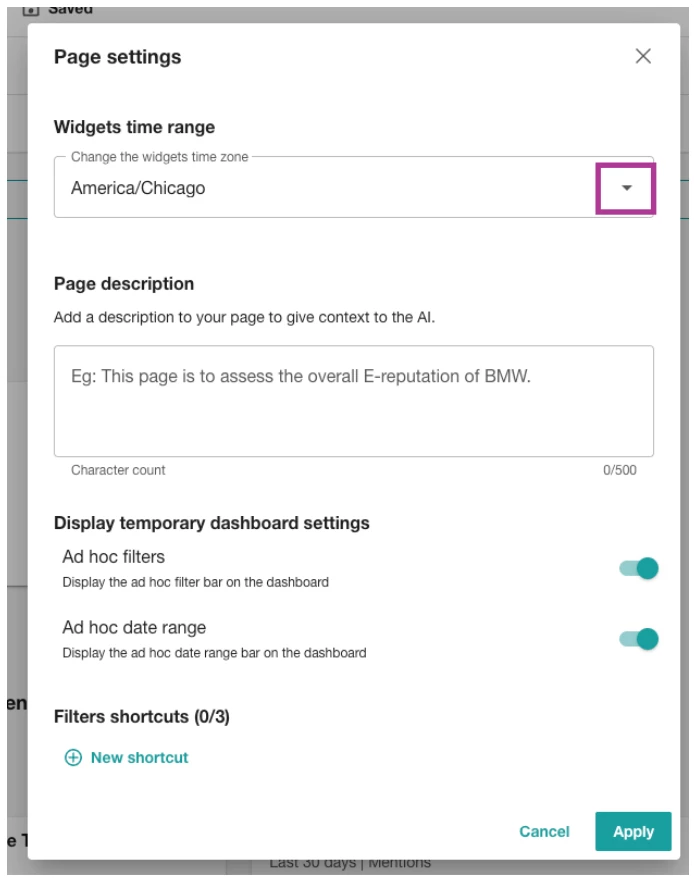
- Select a timezone
- Select the Widget time range drop-down
- To add a page description
- Enter your description in the text box
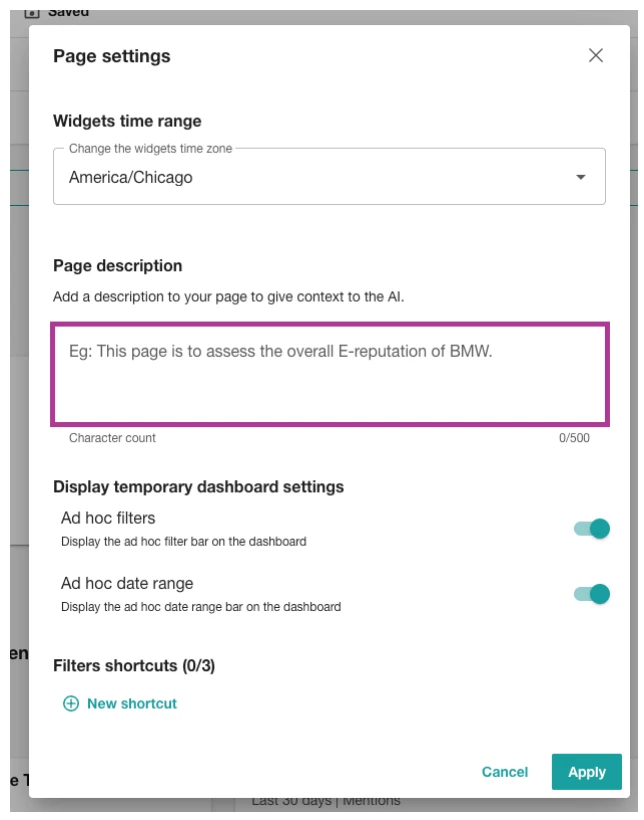
Note: You can add up to 500 characters.
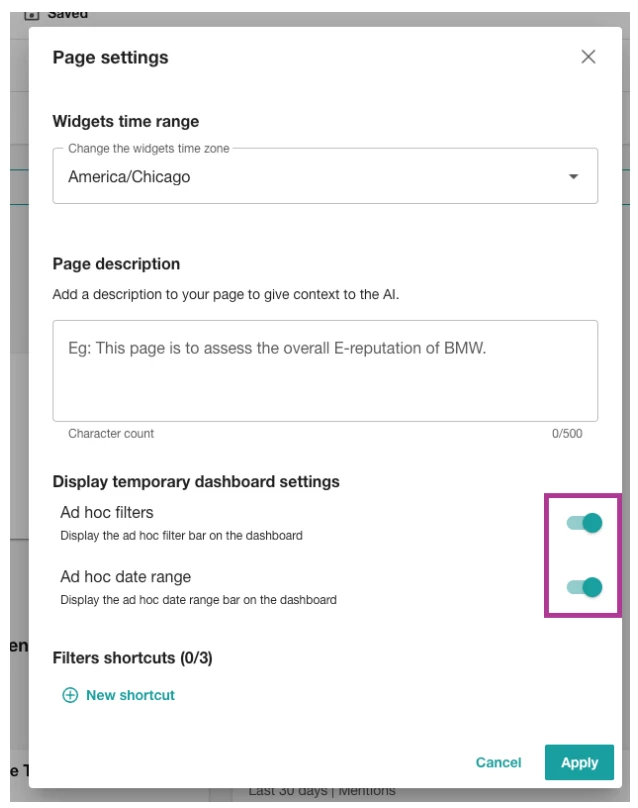
- To adjust dashboard settings displays, use the toggle to turn them on and off. Display settings include:
- Ad hoc filter: Display the ad hoc filter bar on the dashboard.
- Ad hoc date range: Display the ad hoc date range bar on the dashboard.
- To create a filters shortcut
- Click New Shortcut
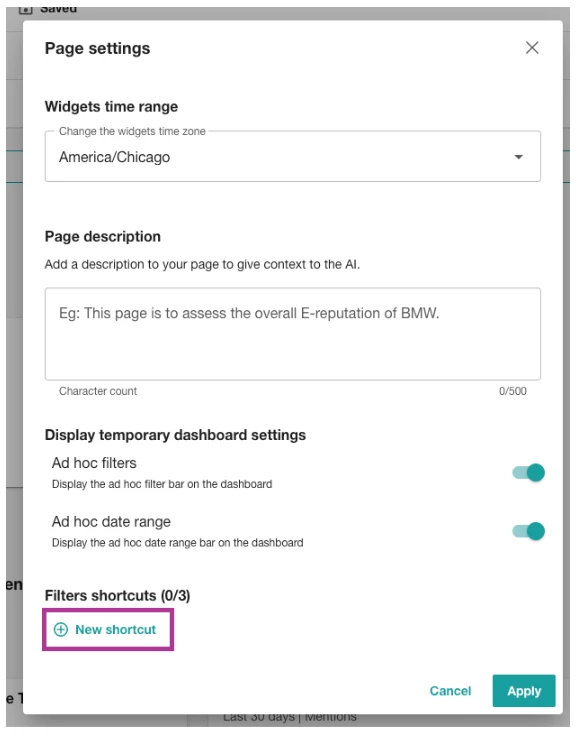
- Select your filters
- Click New Shortcut
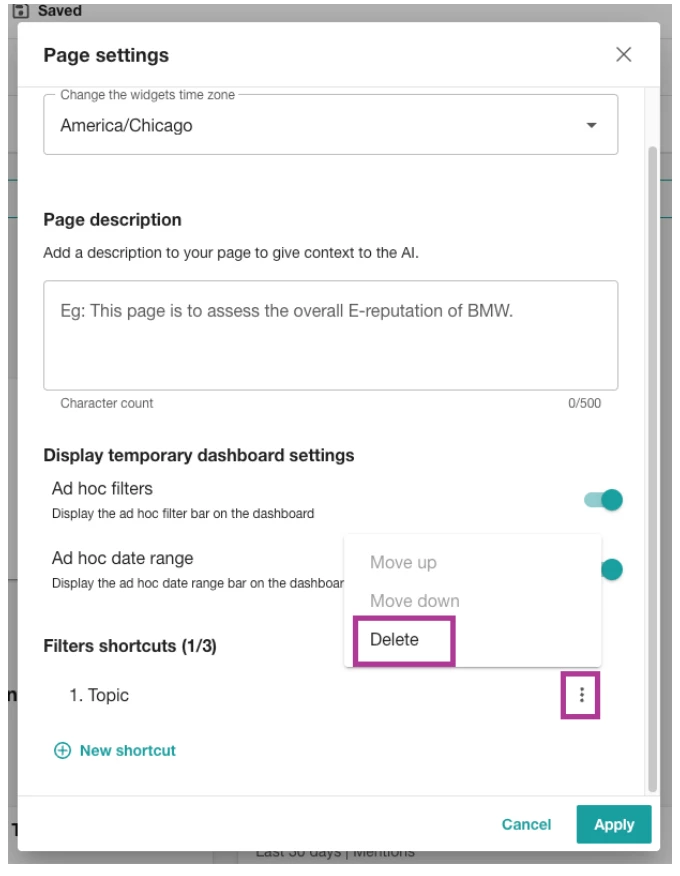
- To remove a filters shortcut
- Click the kebab menu on the shortcut you want to delete
- Click Delete
- Once all page settings have been set, click Apply
Editing the Table Name
- Click the Untitled Tab drop-down
- Select Rename
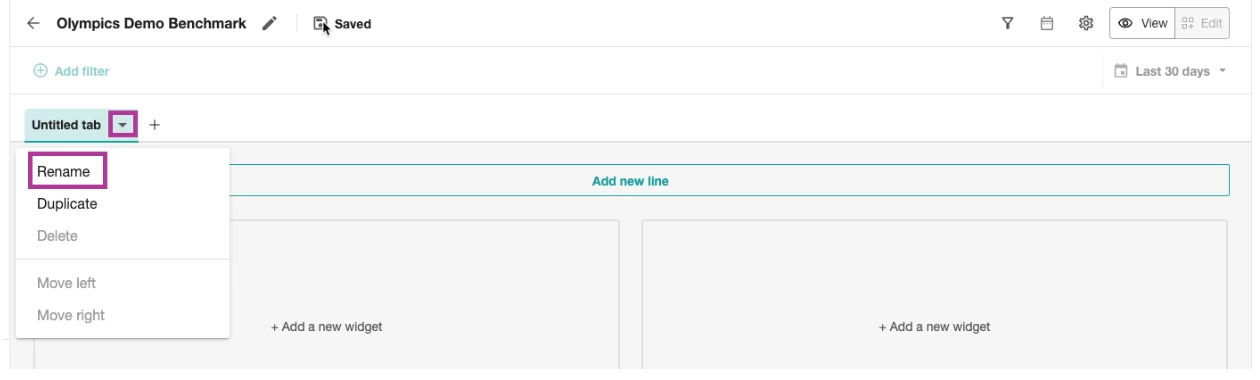
- Edit the tab name
- Click Rename
- To duplicate an existing tab
- Click the Untitled Tab drop-down
- Select Duplicate

- Enter a tab name
- Click Duplicate
Adding a New Tab
- Click Add Tab
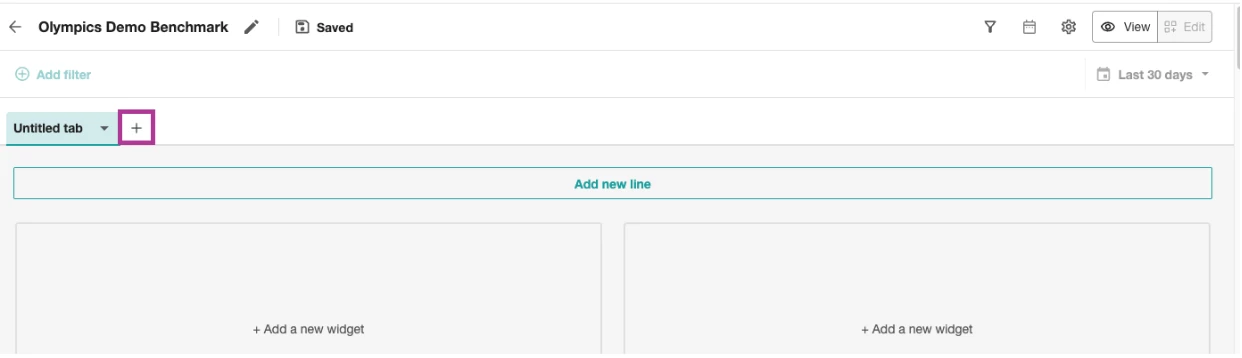
- Enter a tab name
- Click Create
- To edit the dashboard name
- Click Rename to the right of the dashboard name
- Adjust the name in the textbox
- Click Rename
- Once all edits have been made, click View to go back to View Mode