


This article will cover:
Creating a New Project
Follow these steps to set up a Project using the new Instruction fields.
Note: if you created a project before November 12, 2025, you’ll need to separate your old instructions into the new fields for best results. You can skip to Step 6 in the “Editing an Existing Project” section for guidance.
- Open Mira Studio in the left-hand navigation bar
- Select Create a Project in the top left-hand corner

- Enter a project name in the textbox
- Click Confirm

- Click Add Instructions

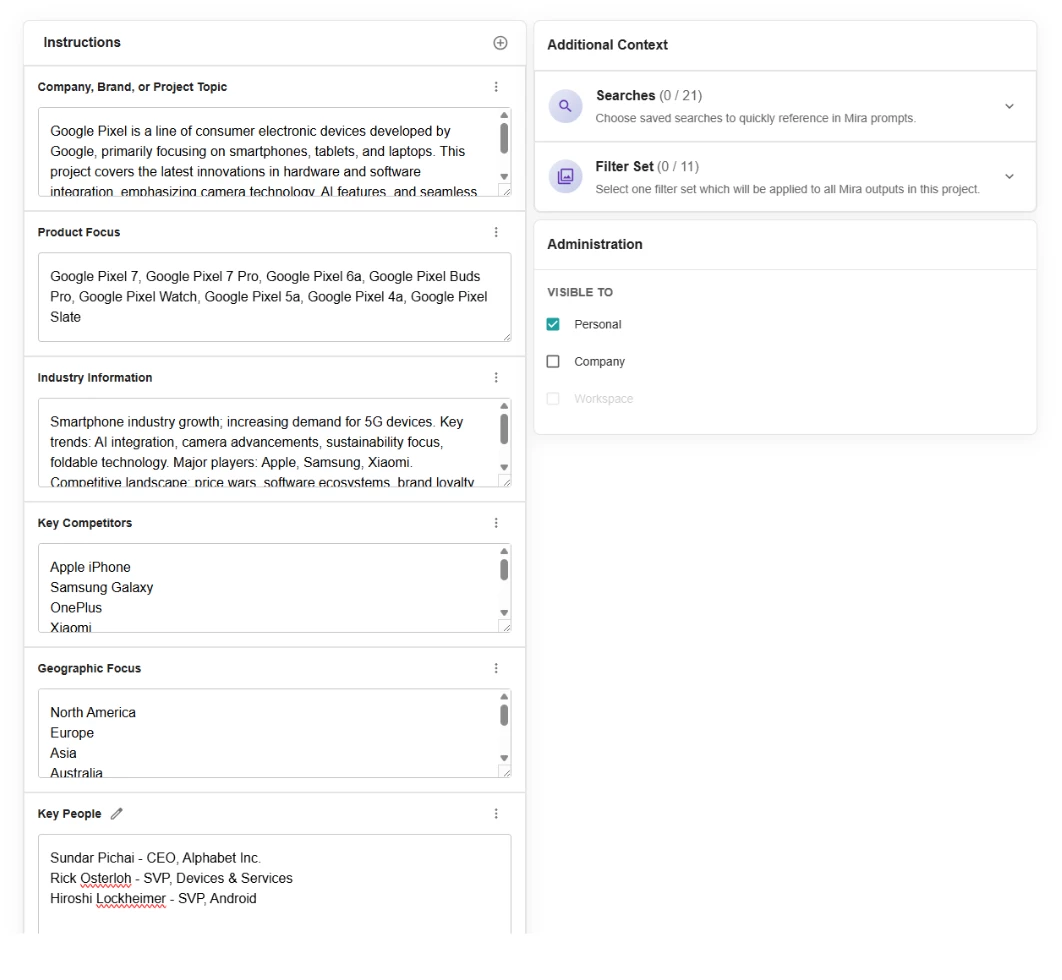
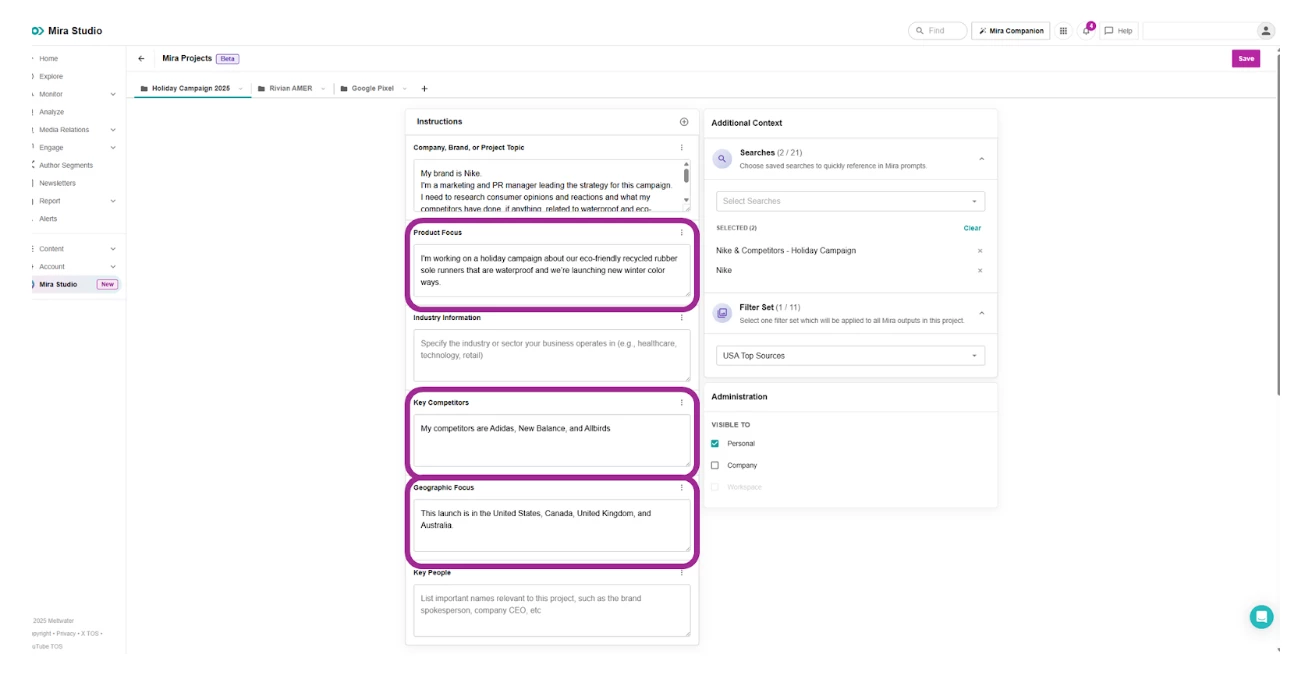
- Complete the fields to define the focus of your Project. These include:
- Company, Brand, or Project Topic
- Product Focus
- Industry Information
- Key Competitors
- Geographic Focus
- Key People
- To add instructions, add your own text to each field or click Generate for an AI-generated result.

- After adding your text, click Optimize to refine.
Note: Mira Studio uses the information in your other fields to suggest improvements. Review and edit suggestions before saving.
- To add additional fields, click the + icon in the top right-hand corner

- Select Edit section name to give your new section a title

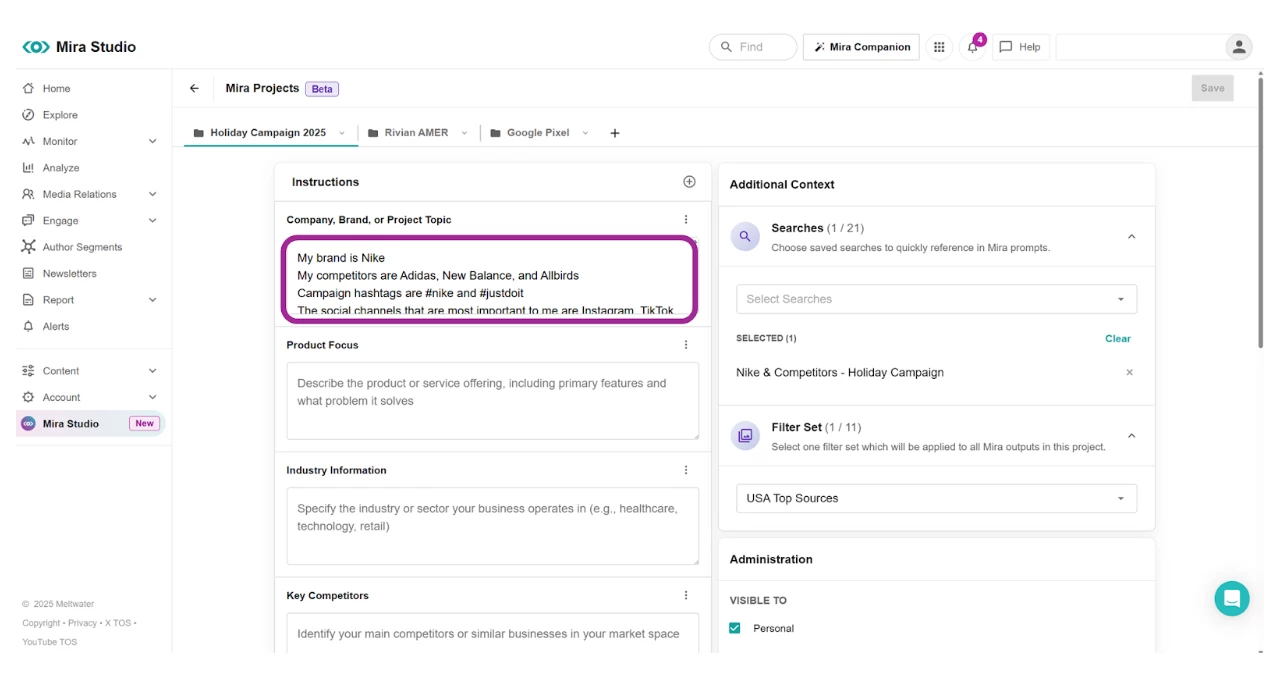
- Under Additional Context:
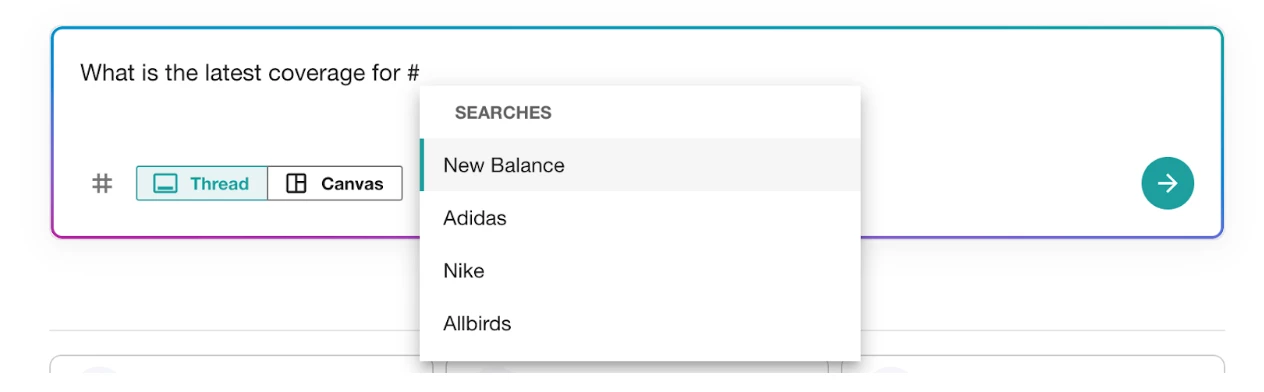
- Select the Searches drop-down to add one or more saved searches so that when you type # in your prompt, Mira only shows those saved searches in the drop-down
- Select the Filter Set drop-down to apply one saved filter set across the project

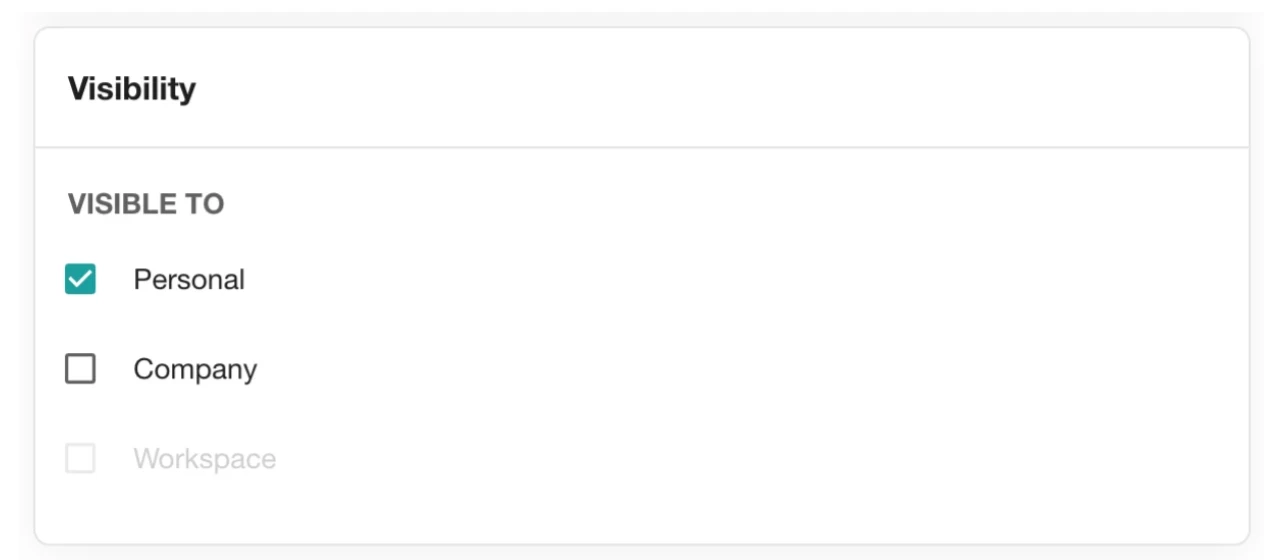
- Under Visibility, select who can see this project
- Personal: Just you
- Workspace: Anyone in a given workspace.
- Company-wide: Everyone in your account.
- Click Save
- To create a new project, select the + icon to the right of your existing project

Editing an Existing Project
You can edit any Project, including those created before structured fields were introduced.
- Open Mira Studio in the left-hand navigation bar
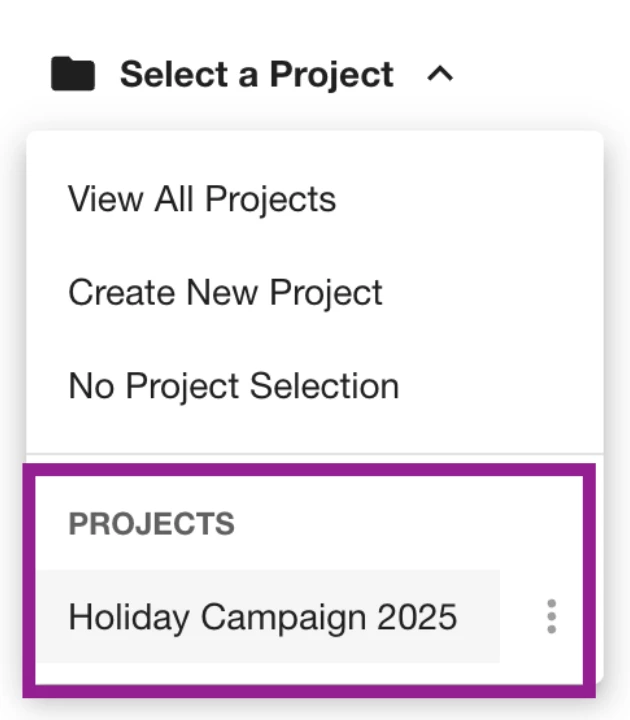
- Click the Select a Project drop-down in the top left-hand corner
- Hover over the Project you want to edit
- Click the kebab menu
- Click Edit

- If your project was created before November 12, 2025, the saved instructions will be consolidated in the first field titles Company, Brand, or Project Topic. Separate your project instructions into the provided fields for accuracy
- Click Save and start prompting as usual
Using a Project in Mira Studio
To use an existing project, follow the steps:
- Click Mira Studio in the left-hand navigation bar
- Select the Select a Project drop-down in the top left-hand corner
- Click the project you want to use
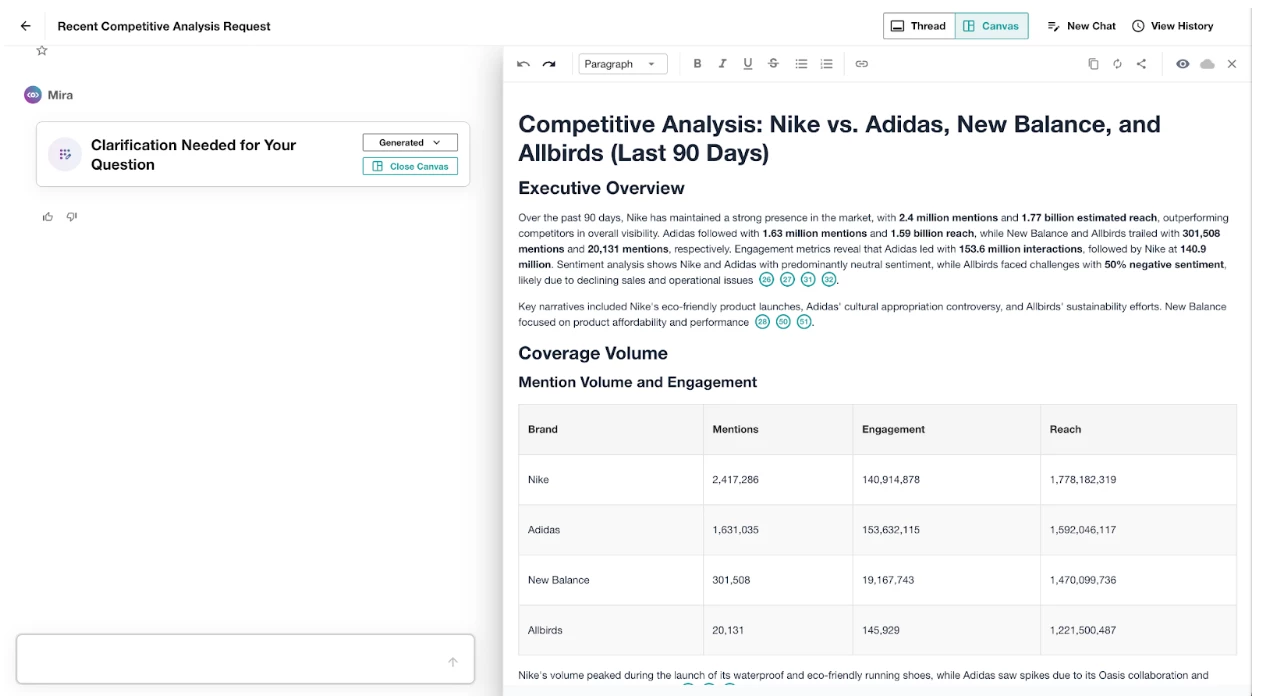
- Type your prompt related to the project selected. Mira will automatically apply the filter sets and context.
- With Projects, you can save time typing out all the details and write more generic prompts. Depending on your context and instructions, Mira may ask you to clarify your prompt. Here are some prompt examples:
- Create a brand performance report from the last 30 days
- (Project reference = brand name)
- Create a campaign report from the last 7 days
- (Project reference = campaign details)
- Create a competitive analysis from the last 90 days
- (Project reference = competitors)
- What are the top trends from social media mentions about my brand
- (Project reference = brand name + social channels)
- What are the top industry trends from last month?
- (Project reference = brand, competitors, industry, etc.)
- (Project reference = brand, competitors, industry, etc.)
- Create a brand performance report from the last 30 days
- If you want to reference a specific saved search, type # and the saved searches you selected in your Project will appear at the top of the list. Learn more in Creating a Project Step 8 above.
- With Projects, you can save time typing out all the details and write more generic prompts. Depending on your context and instructions, Mira may ask you to clarify your prompt. Here are some prompt examples:
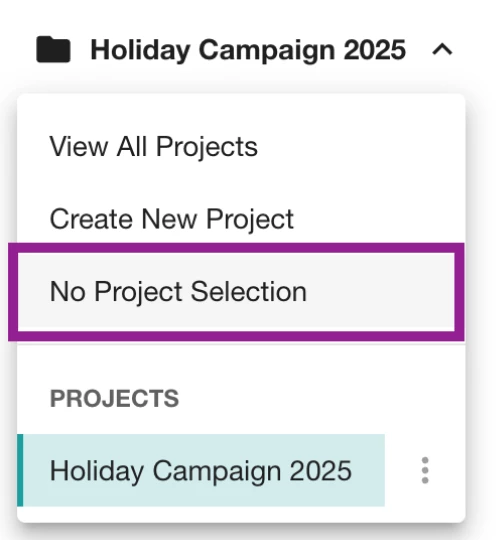
- To deselect a project, select the Project drop-down in the top left-hand corner
- Select another project or click No Project Selection